Back to Front
How to Use Rules to Auto-Tag Conversations
CRM
Learn how to automatically tag conversations in Front using rules. Streamline your email management by categorizing messages with minimal effort.
1
Go to Rules
Head over to the "Rules" section in your Front dashboard.
2
Start a New Rule
- Click on the "New Rule" button.
3
Name the Rule
- Assign a name to your rule for easy identification.
4
Set Trigger and Conditions
For the trigger, select "When a new inbound message arrives."
1
Specify the conditions, such as "Sender email is" or "Subject contains."
5
Add the Auto-Tag Action
Under Actions, select "Add tag" and then choose the tag you want to apply automatically.
6
Save the Rule
Confirm and save your rule by clicking "Save."
7
Test the Rule
Send a test email or message to ensure the tag gets applied as expected.
You've now set up auto-tagging rules in Front! Say goodbye to manual sorting and enhance your team's efficiency.
CRM
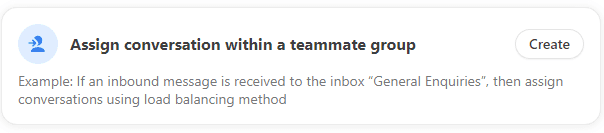
How to Automatically Assign Incoming Emails in Front
CRM
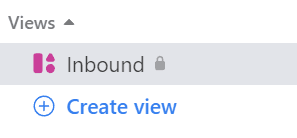
How to Create Custom Views for Tag-Based Email Segmentation
CRM
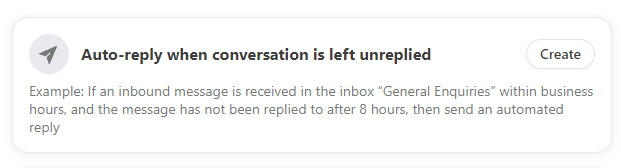
How to Automate Follow-Up Reminders for Unanswered Customer Queries

CRM
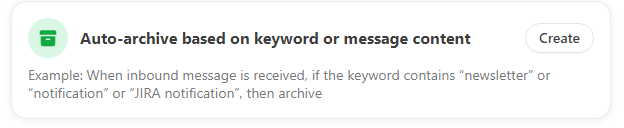
How to Automatically Achieved or Delete Low-Priority Conversation
CRM
How to Implement Auto-Responses for Common Customer Inquiries


