Manage Customer Inquiries Using HubSpot's Conversations Tool
Discover the power of HubSpot's Conversations tool for adeptly managing and responding to customer inquiries across diverse channels. In this comprehensive guide, we'll take you through a step-by-step journey on effectively utilizing this versatile tool. Whether it's email, live chat, or social media, you'll learn how to streamline your customer communication process for heightened engagement and satisfaction.
1
Log in to your HubSpot Account
First, log in to your HubSpot account using your email address and password. If you don't have an account, sign up for a free trial or register for a paid plan.
2
Access the Conversations Inbox
1
Click on "Conversations"
Once you're logged in, click on the "Conversations" tab located in the top navigation bar.
2
Go to "Inbox"
Then, click on "Inbox" from the dropdown menu to access the Conversations Inbox.
3
Connect Channels to Your Conversations Inbox
1
Click on "Settings"
In the Conversations Inbox, click on the "Settings" icon (gear) in the top right corner.
2
Go to "Channels"
In the settings menu, click on "Channels" located in the left sidebar.
3
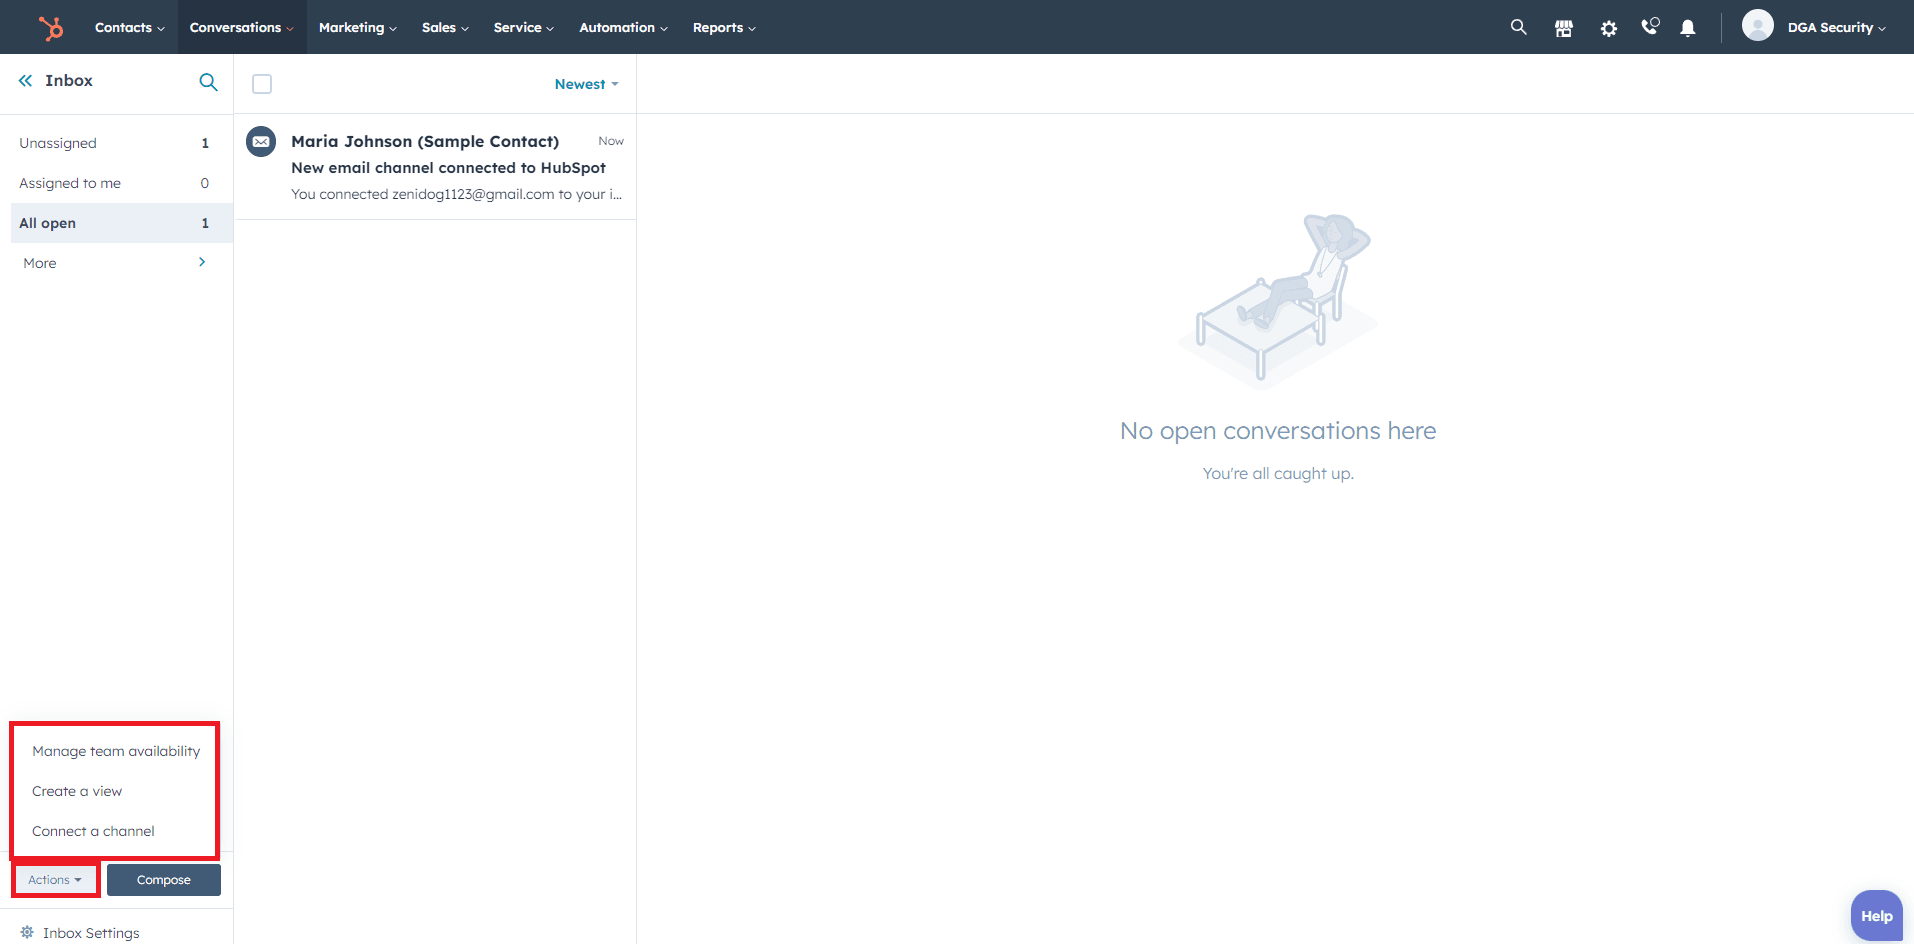
Connect a Channel
Click on the "Connect a channel" button in the top right corner, and choose the channel you want to connect (e.g., Email, Live chat, Facebook Messenger, Twitter, Instagram).
4
Follow on-screen instructions
Follow the on-screen instructions to connect the desired channel to your Conversations Inbox.
4
Manage and Respond to Customer Inquiries
1
Go to "Inbox"
Return to the Conversations Inbox by clicking on the "Inbox" tab in the left sidebar.
2
Click on a conversation
In the left pane, you'll see a list of conversations from all connected channels. Click on a conversation to open it in the right pane.
3
Read and Respond
Read the customer inquiry and respond by typing your message in the "Reply" field at the bottom of the conversation.
4
Assign
Optional) If you need to assign the conversation to a team member, click on the "Assign" button at the top of the conversation, and select the team member from the dropdown list.
5
Add a note
(Optional) Use the "Add a note" feature to leave internal notes for your team members that will not be visible to the customer.
6
Send
Click on the "Send" button to send your response.
5
Use Snippets to Save Time Responding to Common Inquiries
1
Use snippets
To use pre-written responses (snippets), click on the "Insert snippet" icon (clipboard) located in the bottom right corner of the "Reply" field.
2
Search and select snippet
Search for a relevant snippet or select one from the list, and it will be automatically inserted into your reply.
3
Customize and Send
Customize the snippet as needed, and click on the "Send" button.
Navigating customer inquiries with HubSpot's Conversations tool empowers your business to excel in multi-channel communication. By following these outlined steps, you're poised to efficiently address inquiries across platforms, while utilizing snippets for quicker responses. Elevate your customer support game, fostering positive interactions and building lasting relationships. Embrace the Conversations tool and position your brand for stellar customer engagement.