How to Utilize Support-Specific Email Templates and Snippets
Welcome to our comprehensive guide on maximizing efficiency in customer support using tailored email templates and snippets. Responding promptly and consistently to customer inquiries is crucial for maintaining excellent support. In this guide, we'll walk you through the process of creating, customizing, and effectively deploying support-specific email templates and snippets. Learn how to streamline responses, maintain brand consistency, and provide top-notch customer experiences. Let's embark on a journey to enhance your support communication and save valuable time.
1
Set up your HubSpot account

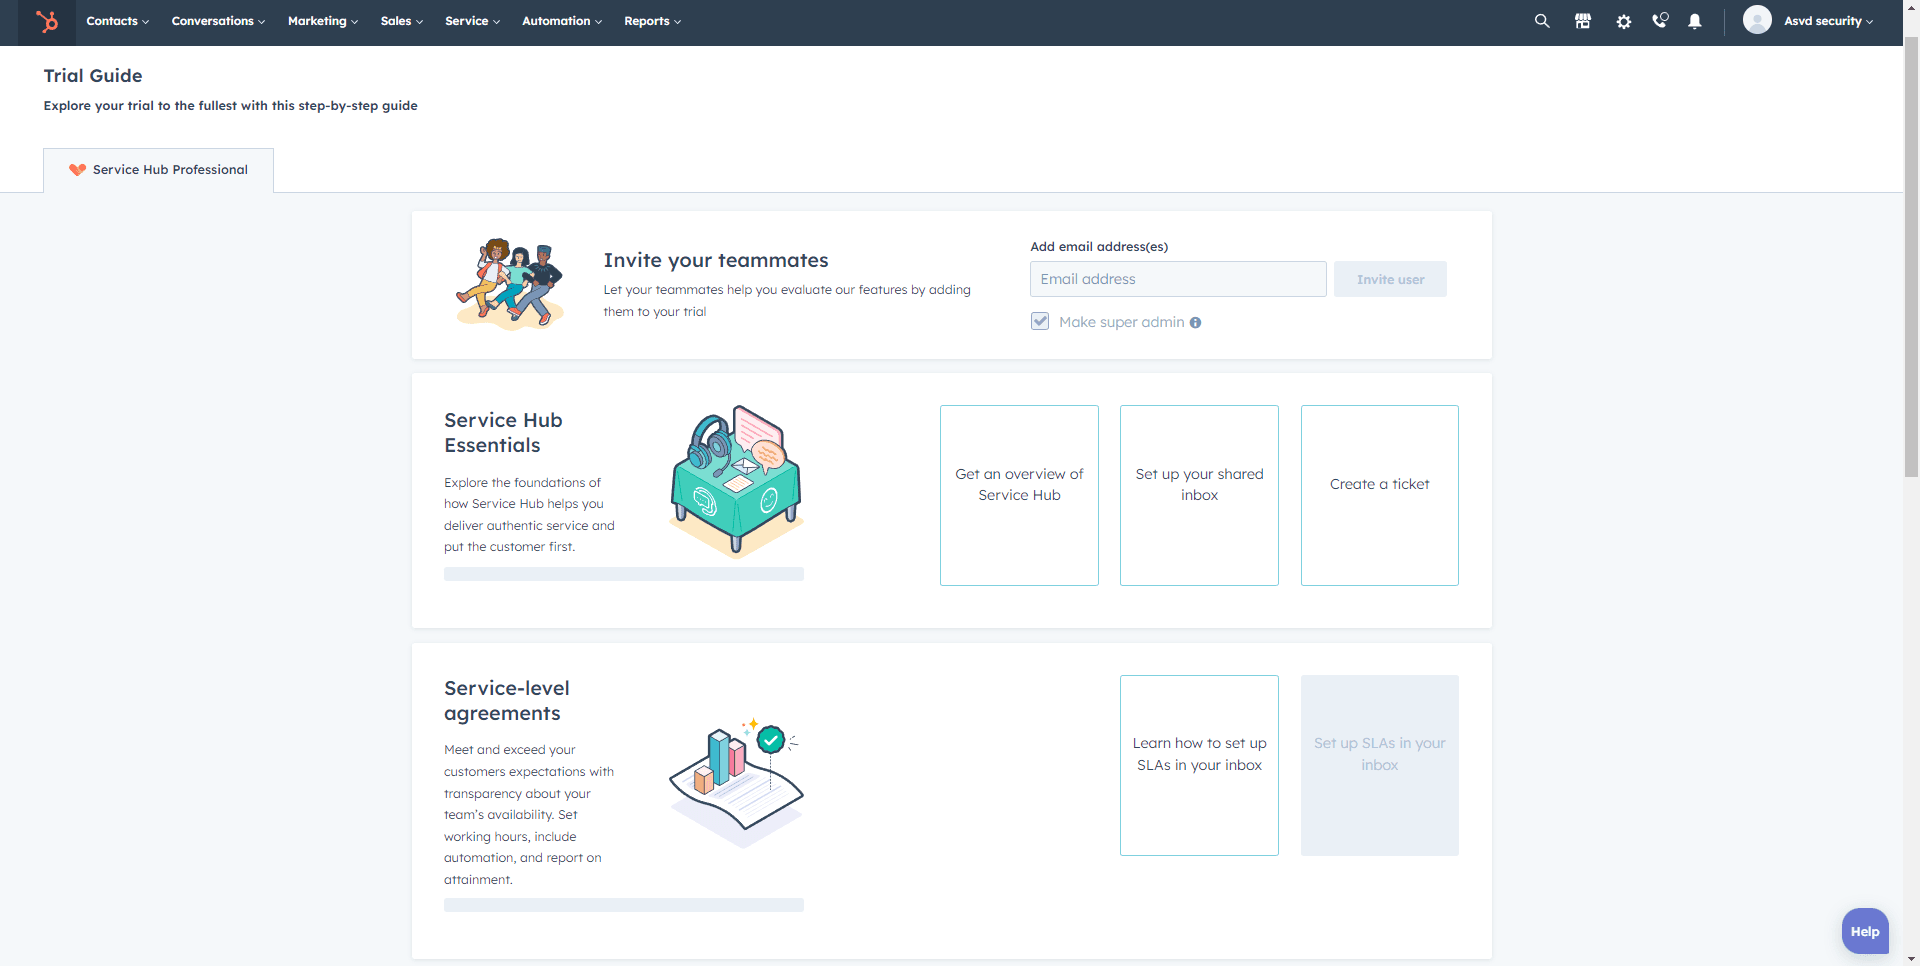
Before you can use task automation, you need to have a HubSpot account. If you haven't created one yet, sign up for a free account at https://www.hubspot.com/. Once your account is set up, log in and navigate to the main dashboard.
2
Create customer support pipelines
To streamline customer support, you need to create pipelines that represent different stages of the support process. Click on the "Service" tab, and then click on "Tickets." From there, click on "Settings" and then "Pipelines."
1
Create a new pipeline
Create a new pipeline, name it "Customer Support," and add the stages that represent your support process (e.g., New, In Progress, Waiting for Customer, Resolved, Closed).
3
Set up task automation
Now that you have your pipelines and custom properties in place, it's time to set up automation. Navigate to "Automation" and then "Workflows." Click "Create workflow."
4
Choose your workflow triggers
Choose "Ticket-based" as your workflow type, and select the "Ticket" and “Customer Support” pipeline as the enrollment trigger. This will ensure that any ticket entering the pipeline will be enrolled in this workflow.
5
Add actions to automate tasks
Now, add actions to automate tasks for each stage of the pipeline. Click the "+" icon to add a new action. Some common actions include: Assigning a ticket to a team member or team Setting ticket status and priority Sending an email notification to the customer or internal team members Creating follow-up tasks Adding internal notes to the ticket
6
Test your workflow
Before activating your workflow, test it to ensure it's functioning as intended. Click on the "Test" tab, select a ticket from the "Customer Support" pipeline, and watch how the ticket moves through the workflow.
7
Activate your workflow
Once you're satisfied with your workflow, click "Activate" to enable it. From now on, any ticket entering the "Customer Support" pipeline will be enrolled in this workflow, automating your customer support process.
Congratulations on completing our guide to utilizing support-specific email templates and snippets to enhance your customer support operations. By harnessing the power of tailored communication, you've positioned your team for success by providing consistent, efficient, and personalized responses to customer inquiries. Remember that continuous refinement and adaptation are key to staying ahead in the fast-paced world of customer support. Keep optimizing your templates and snippets based on customer feedback and changing needs. Your commitment to excellence will undoubtedly contribute to elevated customer satisfaction and loyalty.


