How to Use Analytics in Intercom's Knowledge Base
Setting up user permissions in Intercom's knowledge base is a great way to control who has access to what content. This can help you to protect sensitive information and ensure that only authorized users can make changes to your knowledge base.
1
Log into Intercom

Access your Intercom account by entering your login credentials.
2
Go to 'Reports'
On your Intercom dashboard, find and select 'Reports' from the left-hand navigation menu.
3
Navigate to 'Proactive'
Within the 'Reports' section, click on the 'Proactive' category.
4
Select 'Articles'
Next, in the 'Proactive' category, choose the 'Articles' option to access Knowledge Base analytics.
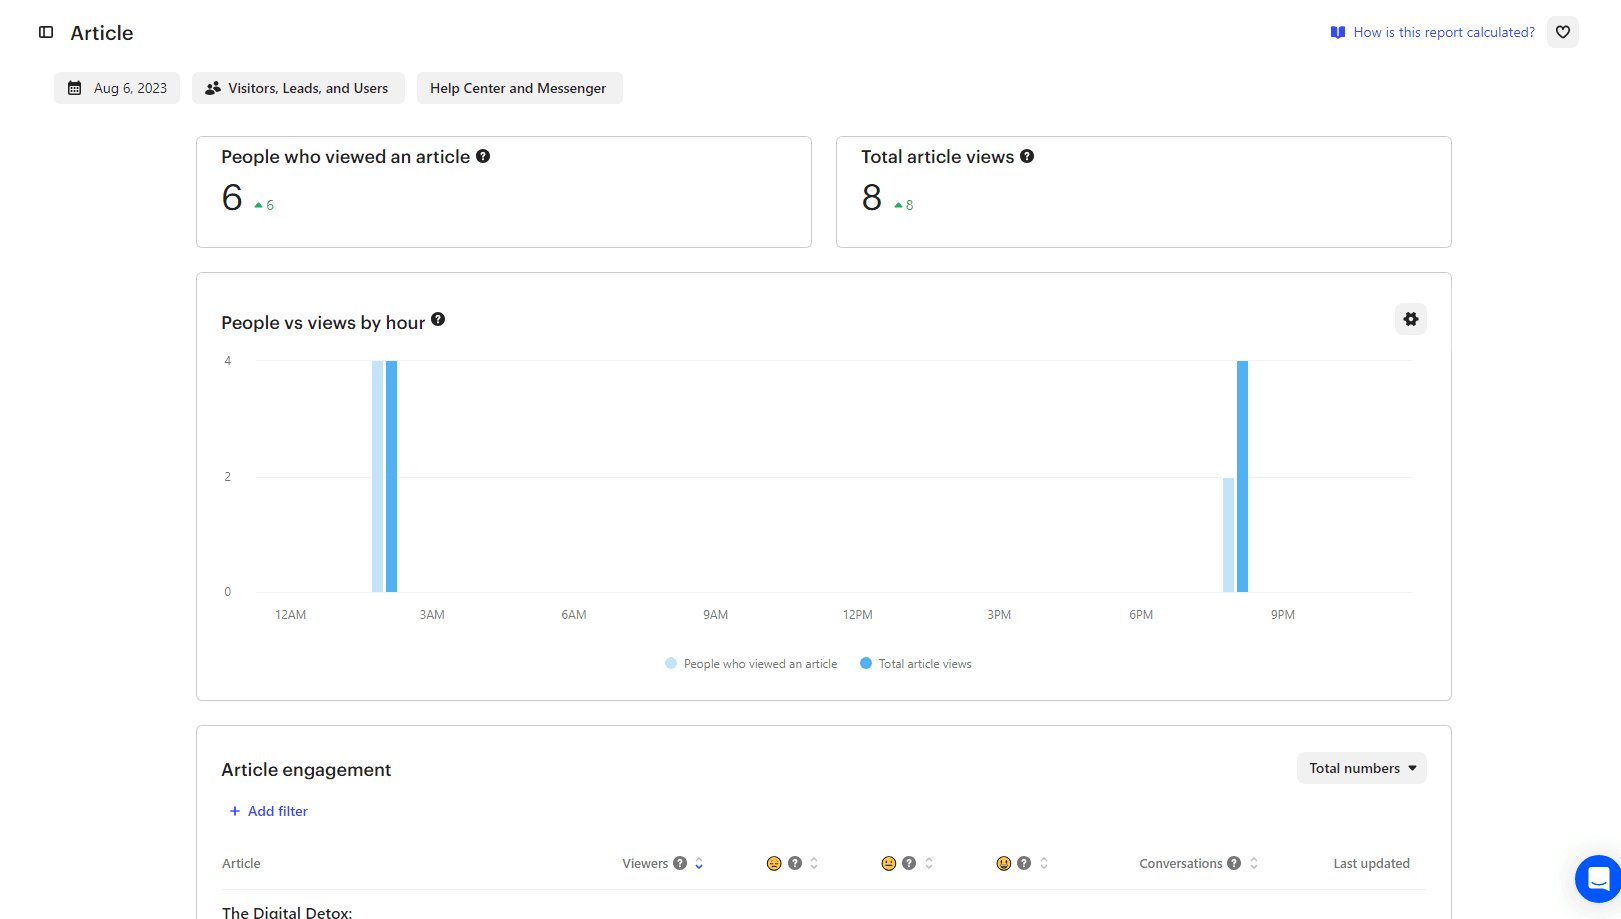
5
View Your Dashboard

The analytics dashboard will display an overview of your Knowledge Base performance, such as article views, reactions, search terms, and more.
6
Check Article Views

Inspect the 'Article views' metric to gauge which topics captivate your users the most.
7
Evaluate Reactions
The 'Reactions' metric provides insights into user feedback on articles, helping identify content areas needing refinement.
8
Examine Search Terms

The 'Search terms' metric reveals what users frequently query within your Knowledge Base, aiding in content gap identification.
9
Apply Insights for Enhancement
Leverage the analytics insights to enhance your Knowledge Base, ensuring a continually optimized user experience.
Setting up user permissions in Intercom's knowledge base is a simple process. By following these steps, you can easily set up permissions and control who has access to your knowledge base.


