How to Add New Articles to Intercom's Knowledge Base
Adding new articles to Intercom's knowledge base is a great way to help your customers find the information they need. This can improve customer satisfaction and reduce the amount of time your team spends answering support tickets.
1
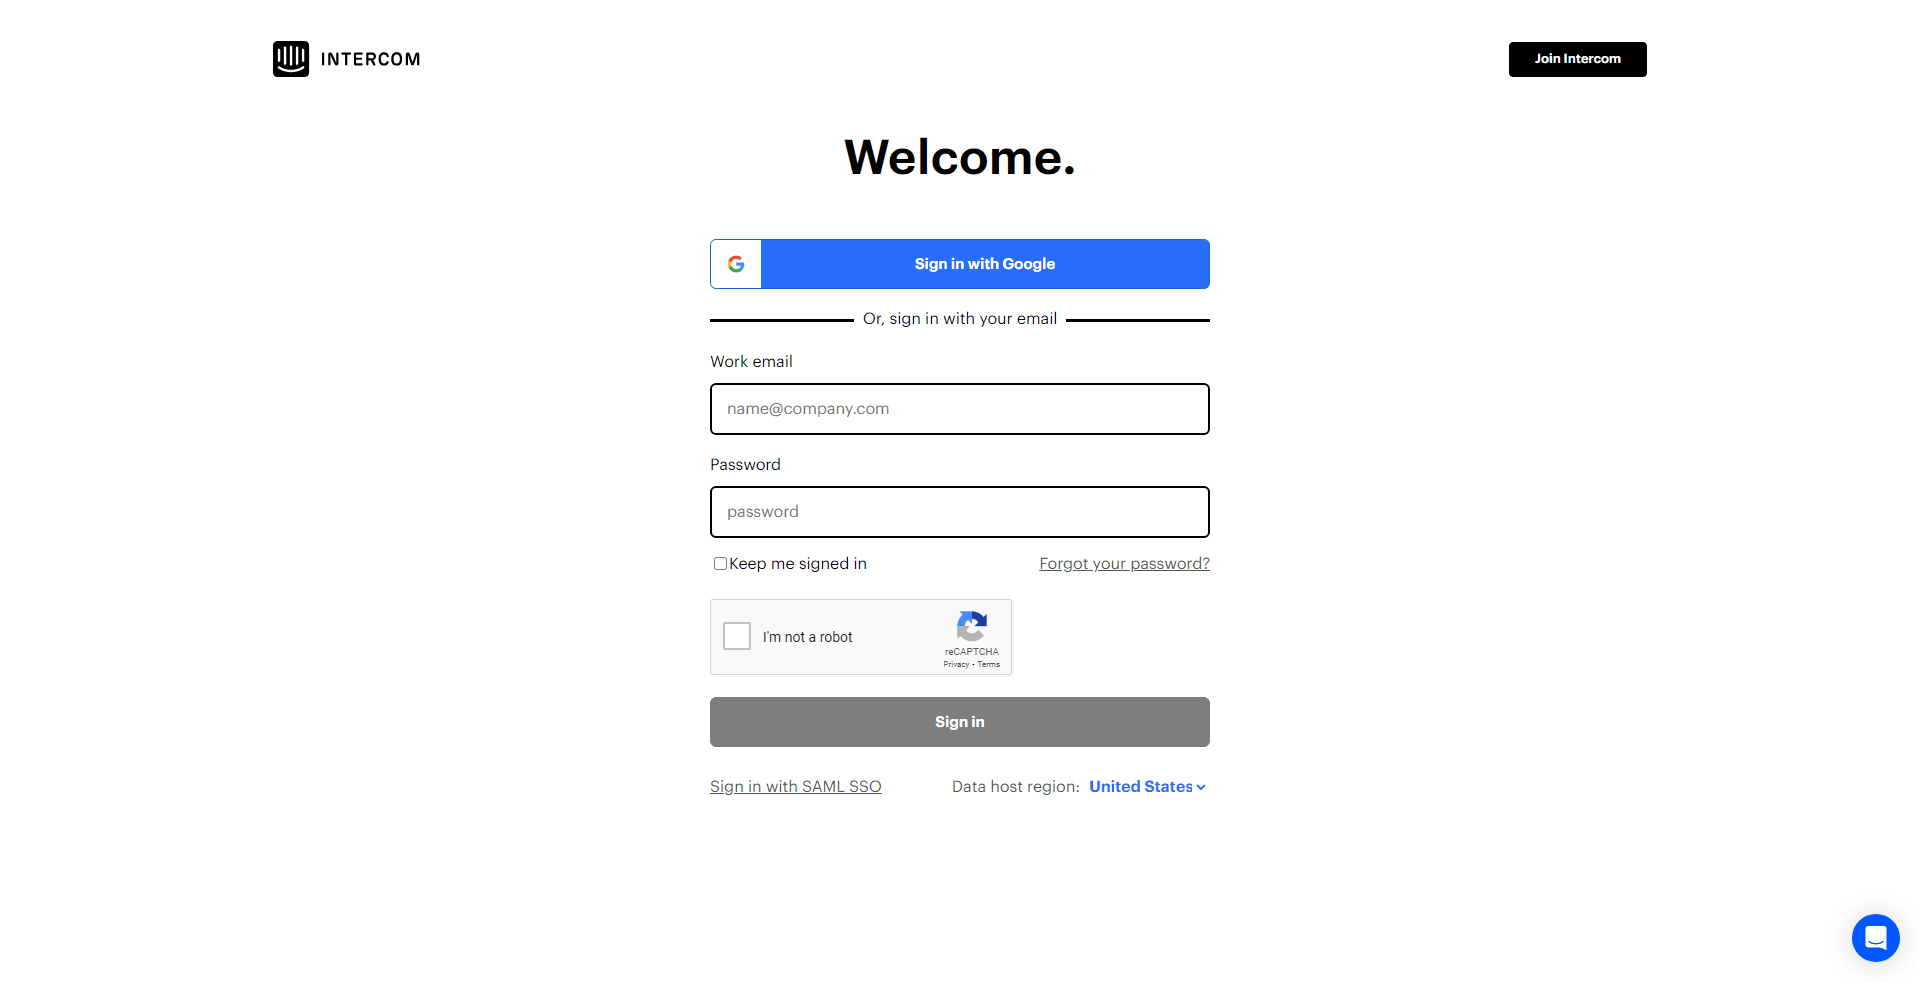
Log into Your Intercom Account

First, access your Intercom account by entering your credentials.
2
Click on 'Articles'
Click on the 'Articles' option located on the left-hand menu.
3
Click on '+ New Article'
On the 'Manage Articles' page, find the '+ New Article' button, and click it to create a new article.
4
Enter Article Title and Content
You'll then be directed to a new page where you can write your article. Start by entering a title in the 'Title' field, then proceed to write the content of your article in the designated text field.
5
Format Your Article
Use the formatting tools available above the text field to format your article as required. You can bold or italicize text, create bullet or numbered lists, add links, and more.
6
Save Your Article
Once you're satisfied with your article, click on the 'Save' button at the bottom of the page.
7
Publish Your Article
After saving, you can publish your article immediately by clicking on the 'Publish' button next to the 'Save' button.
Adding new articles to Intercom's knowledge base is a simple process. By following these steps, you can easily add new articles and help your customers get the help they need.


