How to Enable/Disable the Crisp Chat Widget on Certain Pages
Welcome to our guide on enabling and disabling the Crisp Chat widget on certain pages. Customize chat availability for better user experience. In this guide, we'll show you how to control the chat widget's presence on specific pages of your website.
1
Log Into Crisp

Go to the Crisp website and sign in to your account.
2
Go to Your Dashboard

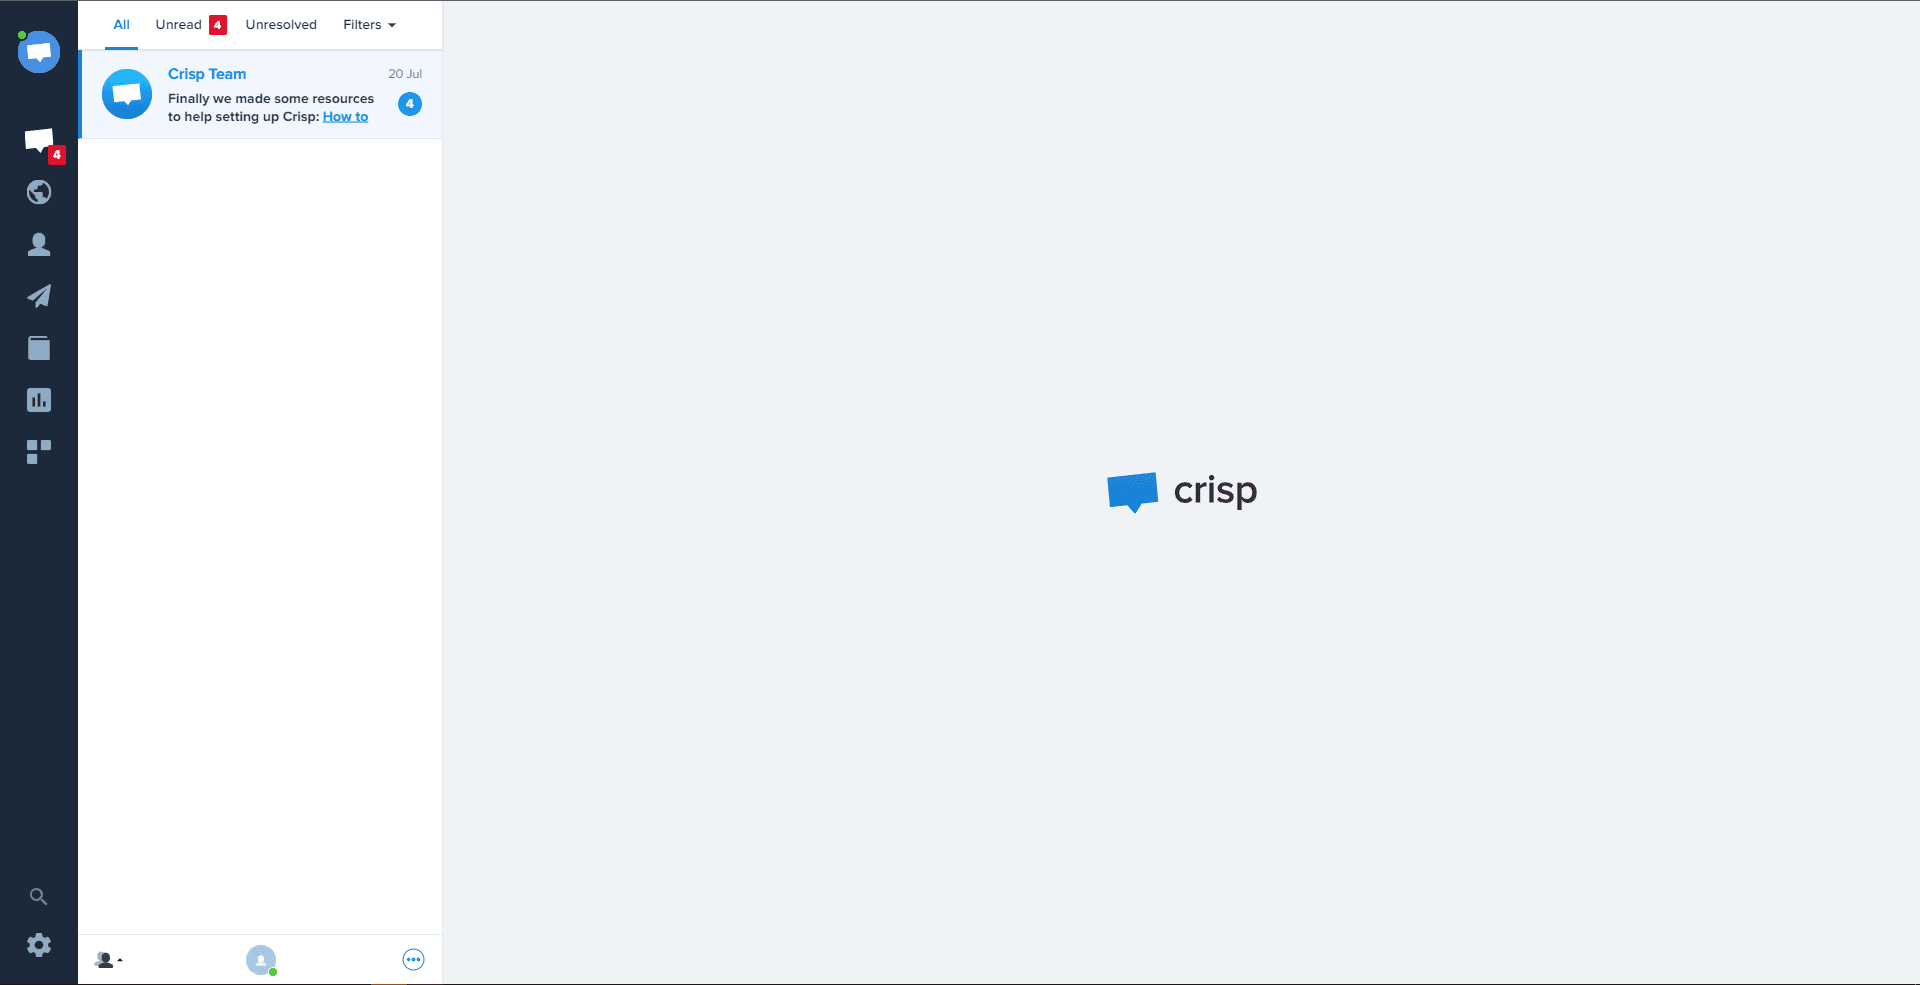
After signing in, head to your dashboard.
3
Navigate to "Settings"
From your dashboard, click on "Settings".
4
Click on "Website Settings"
Under "Settings", click on "Website Settings".
5
Select "Chatbox & Emails"
Inside "Website Settings", click on "Chatbox & Emails".
6
Access "Chatbox Restrictions"
Here, find and click on "Chatbox Restrictions".
7
Set Your Display Rules
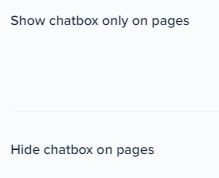
You can now set the rules for displaying the Crisp Chat Widget. Use the "Add a" button in the left side to create rules for specific pages. These rules can be used to enable or disable the widget on those pages.
8
Save Changes
Once you're done setting the rules, it will automatically save your changes.
Congratulations! You've successfully learned how to enable and disable the Crisp Chat widget on certain pages. By controlling the widget's presence, you can provide personalized experiences to website visitors and streamline your support process. Continuously adjust chat availability to optimize user engagement and support efficiency. Happy customizing!


