How to Reposition the Crisp Chat Widget on Your Website
Welcome to our guide on repositioning the Crisp Chat widget on your website. Customize chat placement for better engagement. In this guide, we'll show you how to easily move the chat widget to different positions on your website.
1
Sign In to Crisp
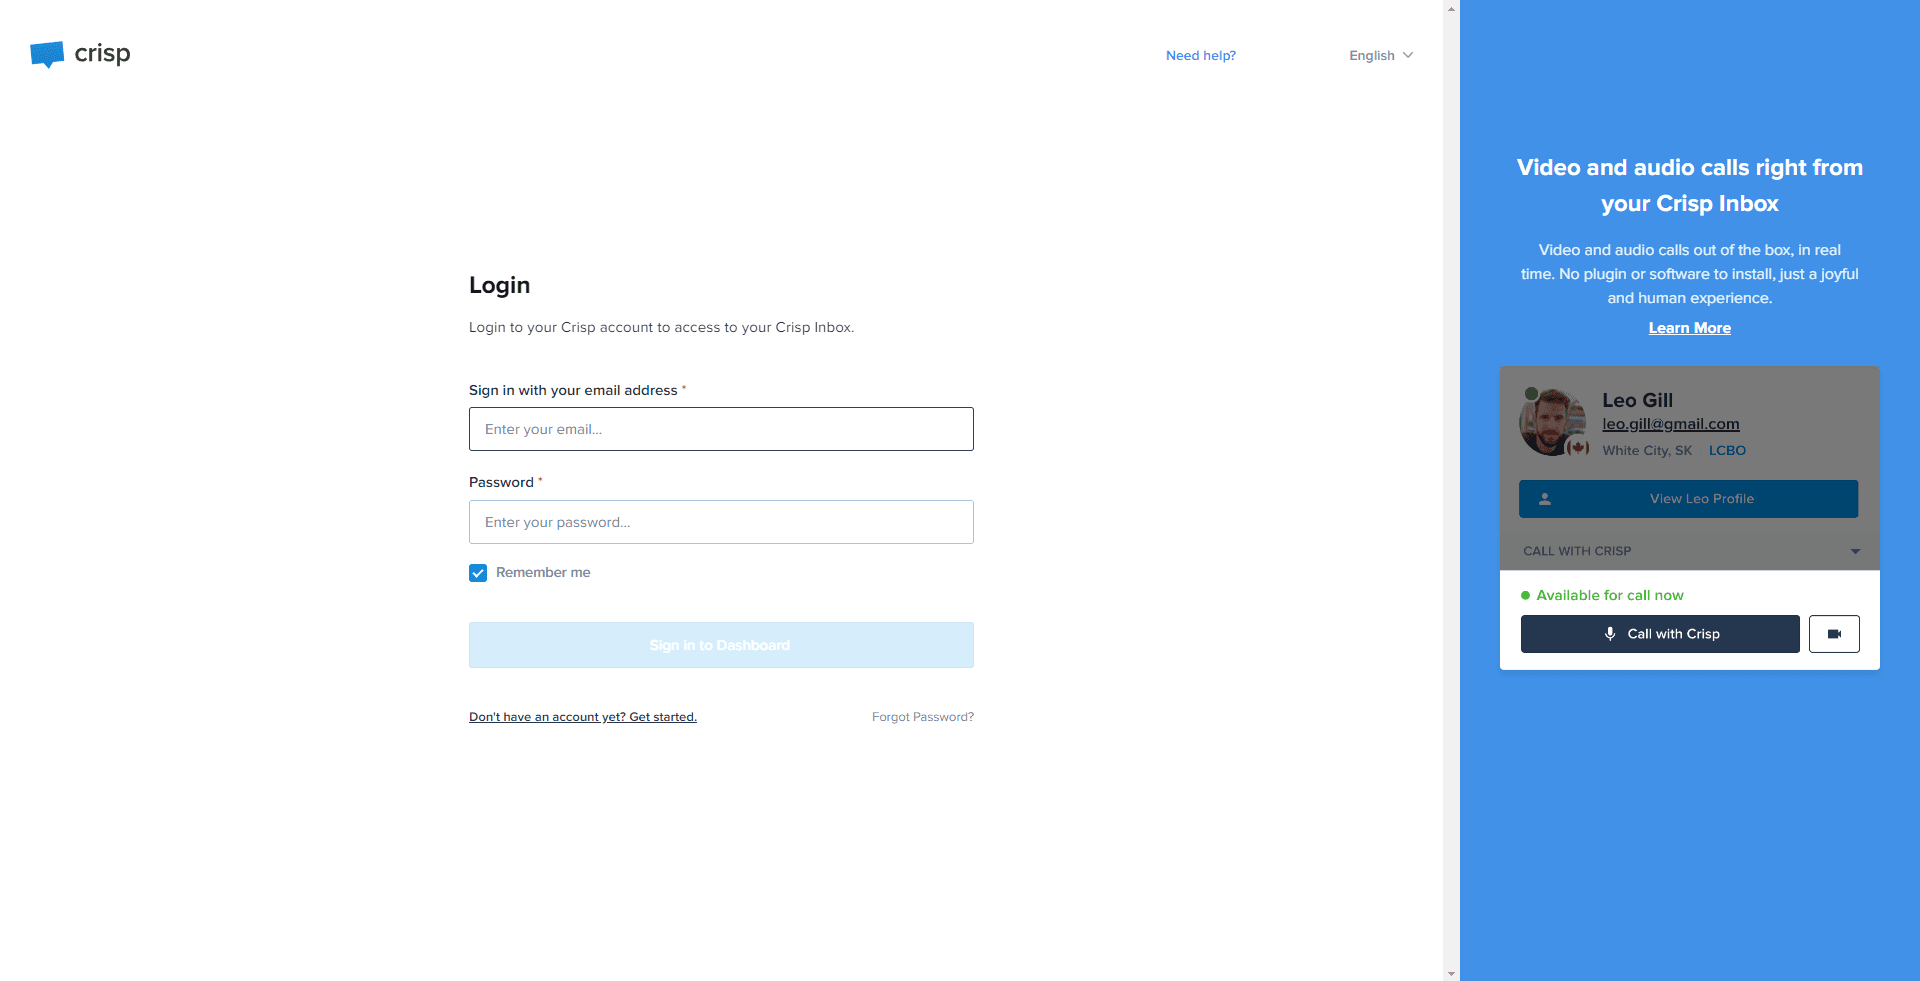
Start by navigating to the Crisp website and log into your account.
2
Access Dashboard
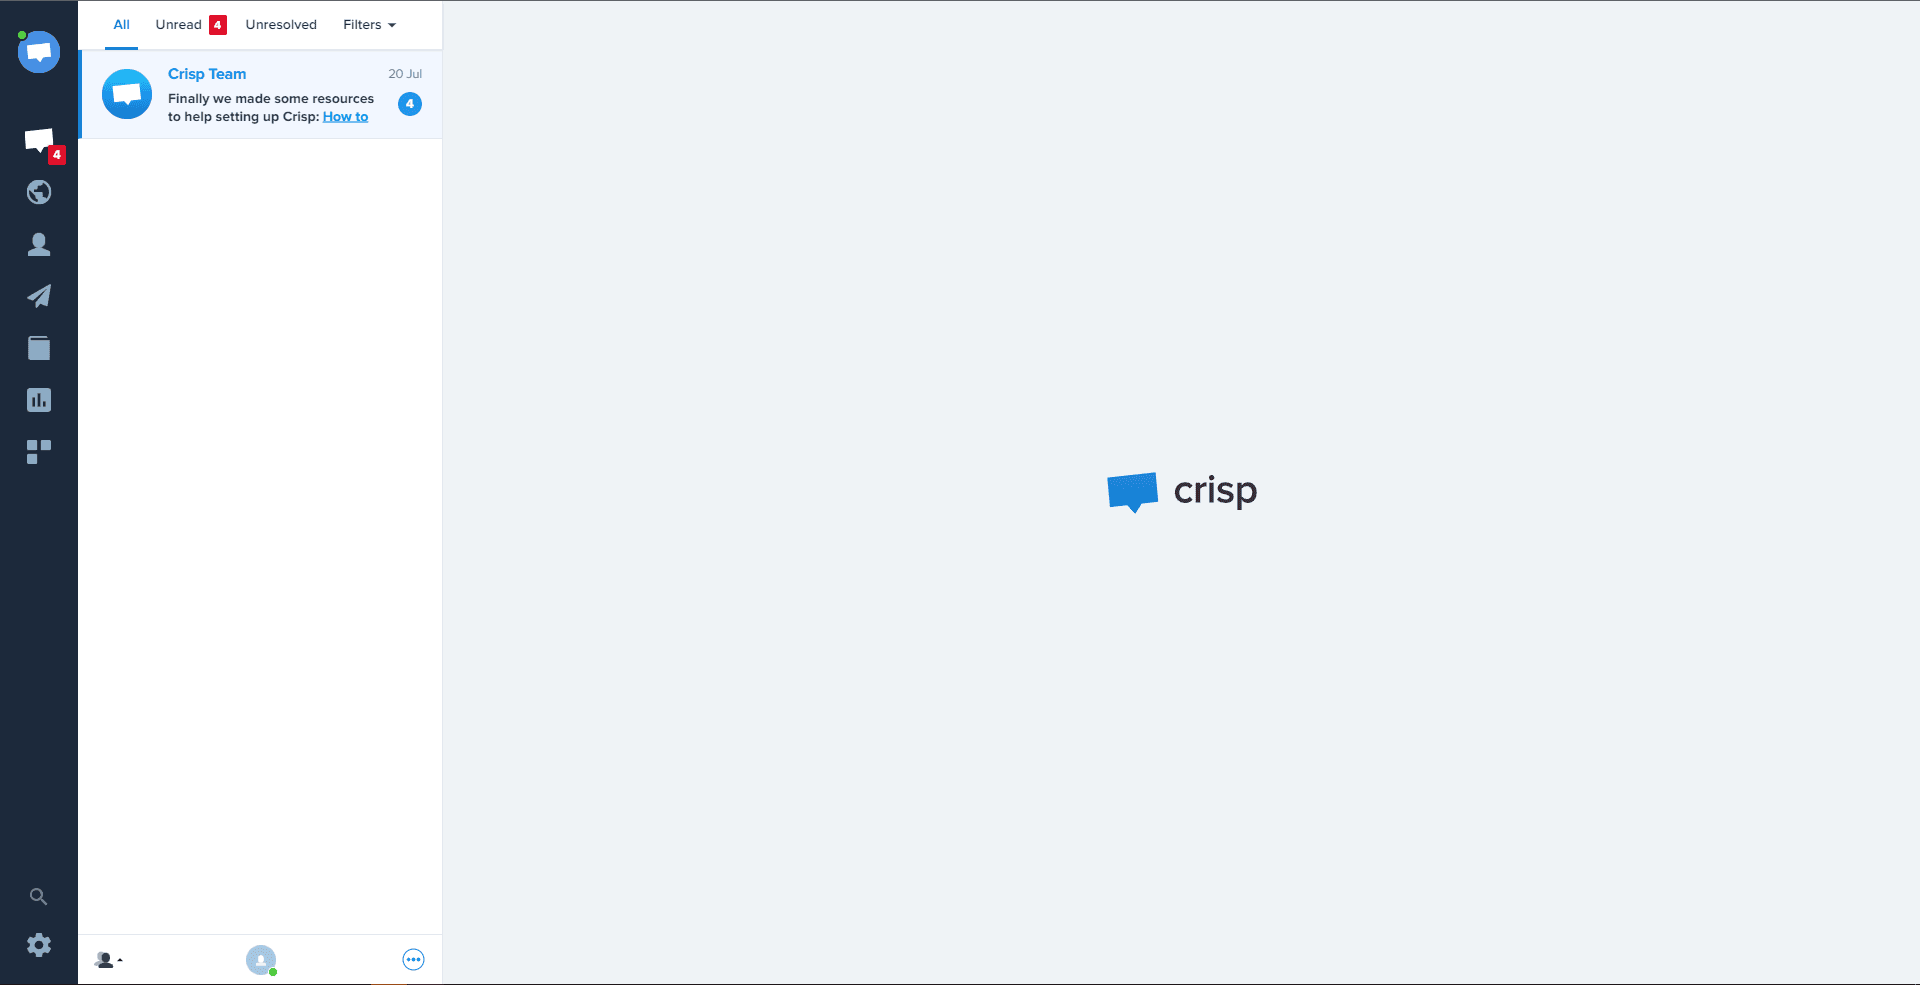
Once you've logged in, you'll be taken to your Crisp dashboard.
3
Navigate to "Settings"
In the dashboard, look for the "Settings" option and click on it.
4
Go to "Chatbox & Email Settings"
In the settings, select "Chatbox & Email Settings".
5
Choose "Chatbox Position"
Inside the "Chatbox & Email Settings" menu, find and select the "Chatbox Position" option.
6
Adjust Position
You'll find different positioning options, such as 'Bottom right', 'Bottom left', etc. Choose the position that best suits your website design.
7
Save Changes
After you've selected your preferred chatbox position, remember to hit the "Save" button to apply your changes.
Congratulations! You've successfully learned how to reposition the Crisp Chat widget on your website. By moving the chat widget to strategic positions, you can increase visibility, encourage visitor interaction, and provide seamless support. Continuously experiment with different placements to optimize chat engagement and improve your customer experience. Happy repositioning!


