How to Customize the Appearance of the Crisp Chat Widget
Welcome to our guide on customizing the appearance of the Crisp Chat widget. Elevate user experience with a personalized look. In this guide, we'll show you how to design a chat widget that aligns with your brand and engages visitors.
1
Sign In to Crisp

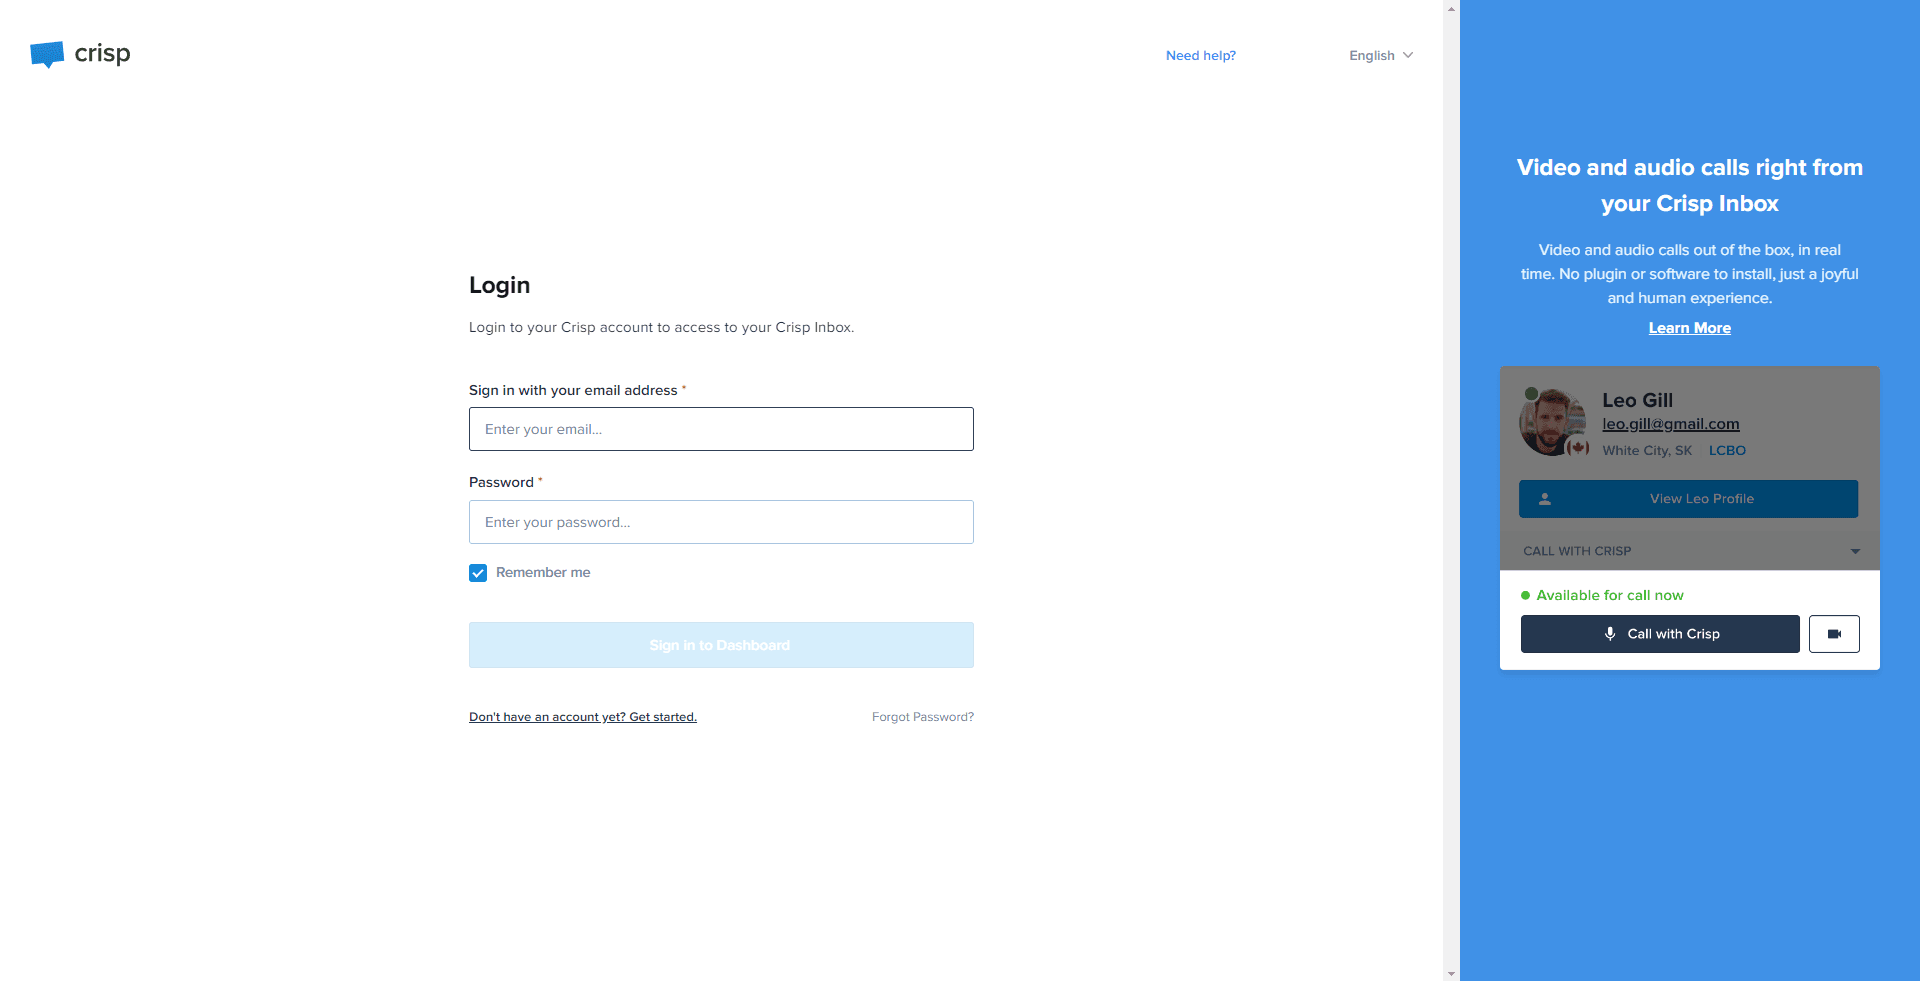
Navigate to the Crisp website and log into your account.
2
Access the Dashboard

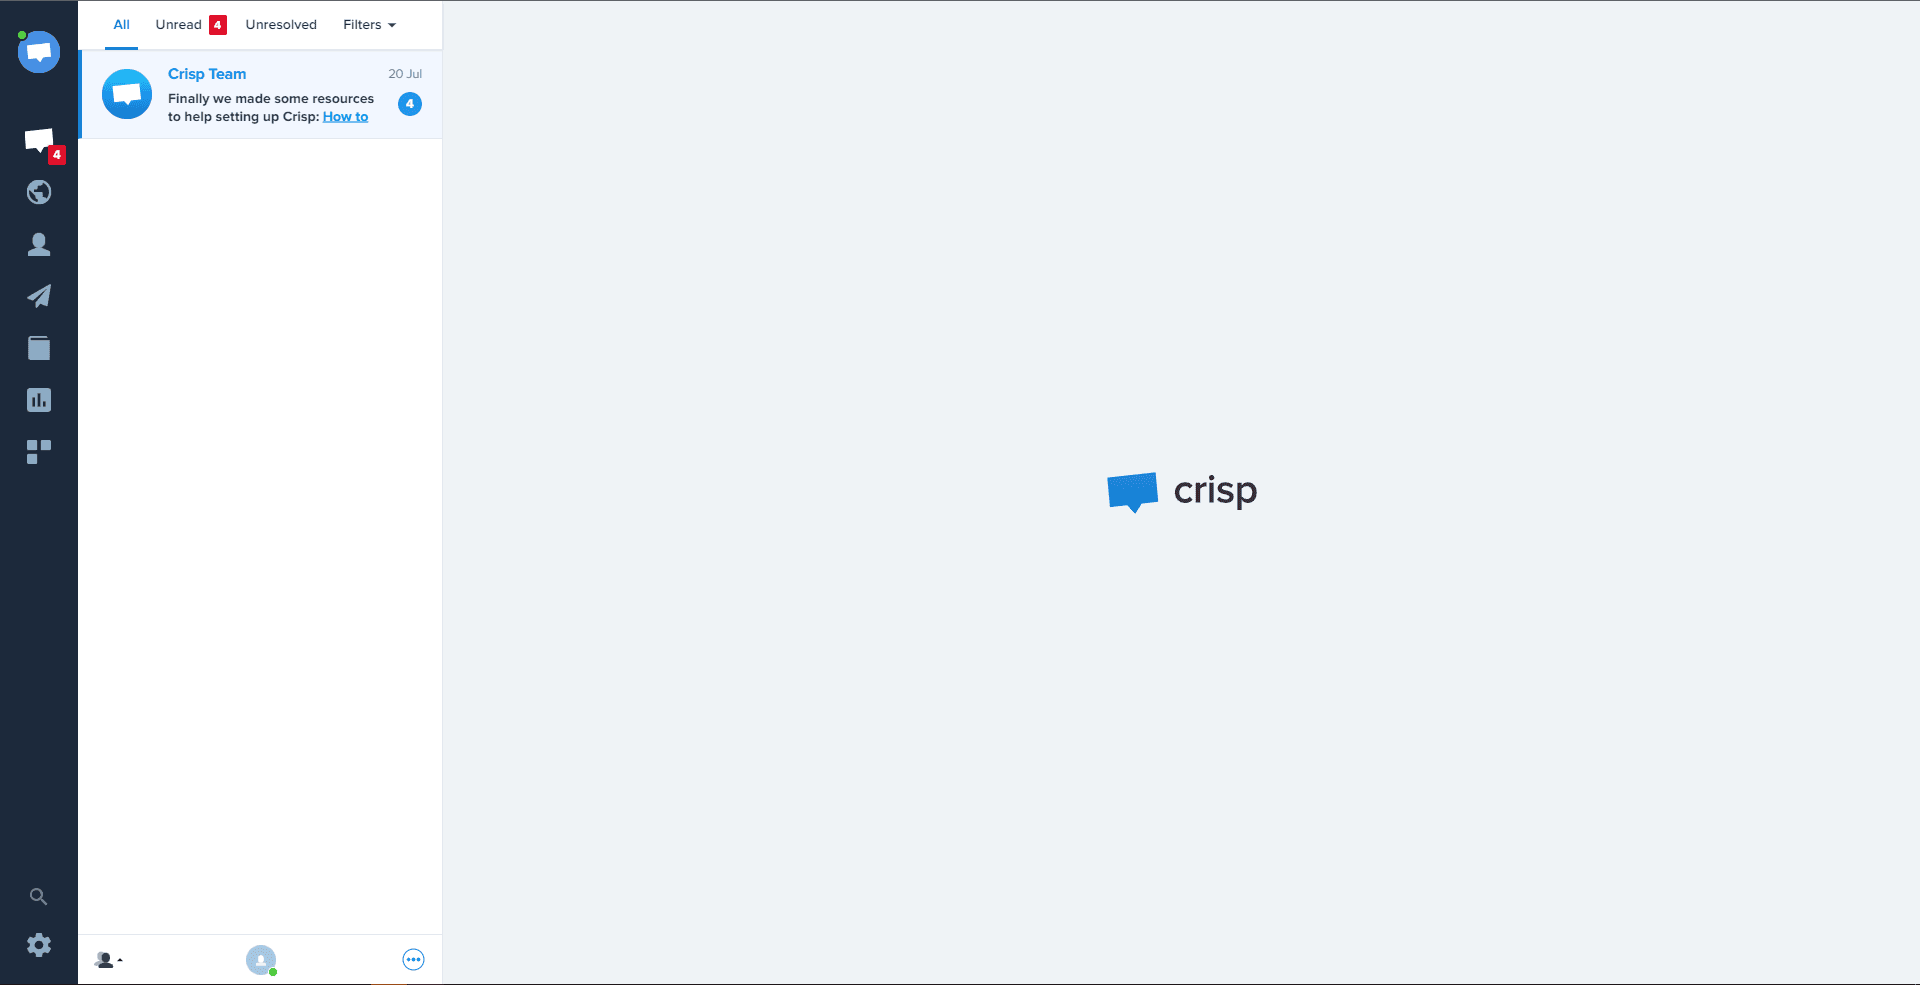
After logging in, you will be directed to your dashboard.
3
Go to "Chatbox & Email Settings"
From your dashboard, click on "Settings" and select "Chatbox & Email Settings" from the dropdown menu.
4
Select "Chatbox Appearance"
Inside the "Chatbox & Email Settings", locate and select "Chatbox Appearance".
5
Personalize Your Chat Widget and Confirm Alterations
You'll be presented with numerous alternatives to modify aspects like color, location, form, and more for your chat widget. Tailor these components to match your needs. Upon finalizing your amendments, the system will automatically save your adjustments.
Congratulations! You've successfully learned how to customize the appearance of the Crisp Chat widget. By designing a chat widget that matches your brand's aesthetics, you can create a seamless and engaging communication platform for your website visitors. Continuously update and optimize the chat widget's appearance to align with your evolving brand guidelines. Happy customizing!


