How to Evaluate Response Time
Welcome to our comprehensive guide on evaluating response time in Help Scout. Efficient response times are crucial for customer satisfaction and support team productivity. In this guide, we'll walk you through the key metrics, best practices, and tools to measure and improve your response time effectively.
1
Log in to Help Scout
Go to the Help Scout website and enter your email and password.
2
Access the Reports section
1
After logging in, locate the sidebar menu on the left side of the screen.
Once you are logged in, look for the sidebar menu on the left side of your screen. This is the main navigation menu for your Help Scout account. The menu will have multiple options like "Conversations", "Docs", "Reports", and more. Each of these leads to different sections of the Help Scout account.
2
Click on the "Reports" tab to access the reporting section.
From the sidebar menu, locate and click on the "Reports" tab. This is typically represented by a bar graph icon. After clicking the "Reports" tab, you will be directed to the reporting section where you can view various analytics and reports related to your customer service activities.
3
Choose the desired report
1
From the "Reports" page, find the "Email" section.
On the Reports page, there should be various sections corresponding to different types of reports. Look for the section labeled "Email." This is typically represented by an envelope icon and click on the "Email" section to view email-related reports.
2
Click on "Response Time" to access the report that measures the response time of your support team.
Within the Email section, you should find various report types. Look for the "Response Time" report. This report measures how quickly your support team responds to customer emails and click on "Response Time" to view the report.
4
Select a date range
1
On the "Response Time" report page
On the "Response Time" report page, look for the date range selector. This is usually positioned towards the top of the page. It may look like two calendar icons or text fields with a date format.
2
Choose a specific date range or use the presets
Click on the date range selector. A calendar drop-down should appear. In the calendar drop-down, you can manually select your desired date range for the report. Click on the start date and end date for your report and after selecting the dates, confirm the selection. Your "Response Time" report will now show data for the selected date range.
5
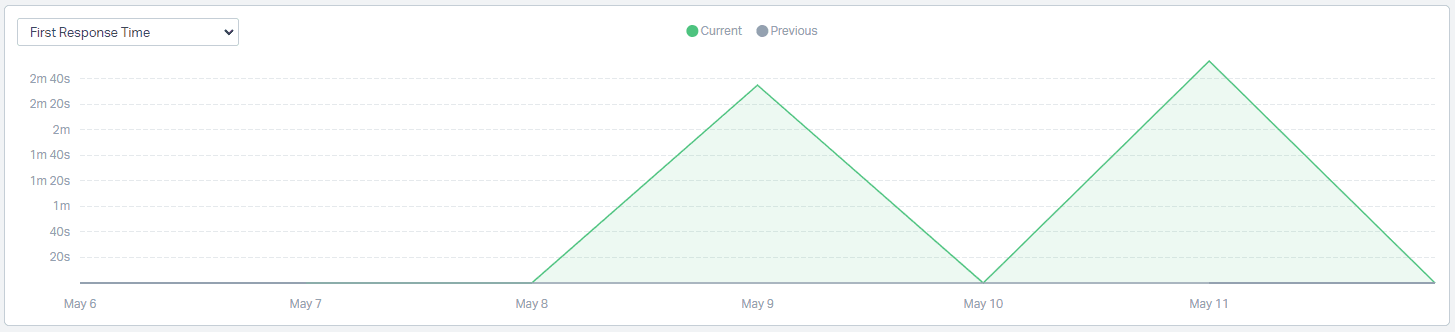
Analyze the First Response Time (FRT) graph
1
The FRT graph displays the average time it takes for your team to send the first response to a customer's conversation.
The FRT graph which showcases the average duration your team takes to respond initially to a customer's message. The graph provides an at-a-glance understanding of your team's responsiveness.
2
Check the graph to identify trends, such as peak times or days with higher response times.
You're guided to examine the graph more closely to spot patterns or trends, such as specific times or days when the response times might be longer than usual. This analysis can help you allocate resources more effectively and improve your overall customer service.
6
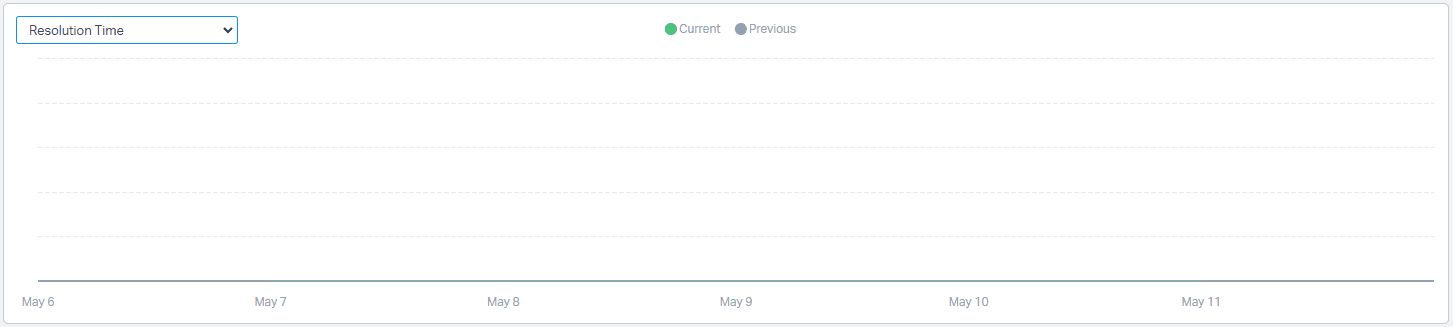
Analyze the Time to Resolution (TTR) graph
1
The TTR graph shows the average time it takes for your team to resolve a conversation from the moment it's created.
This chart visually represents the average time your team takes to resolve an issue or a conversation from the moment it is initiated.
2
Use this graph to identify any patterns and areas for improvement in your team's resolution times.
The step involves scrutinizing the TTR graph to identify patterns and potential bottlenecks in your team's problem resolution process. By studying the chart, you can pinpoint areas where the resolution time is longer and hence, might require improvement.
7
Review additional metrics
Below the FRT and TTR graphs, you will find additional metrics such as "Replies Sent," "Messages Received," “Resolved,” and "Response Time” and analyze these metrics to gain further insights into your team's performance.
Congratulations! You're now equipped with the knowledge to assess and enhance response time in Help Scout. By implementing the insights shared in this guide, you can elevate your customer support experience and build lasting relationships with your clients. Remember, timely responses make all the difference! Happy supporting!


