
How to Merge Duplicate Tickets in HubSpot Service Hub
Welcome to our step-by-step guide on merging duplicate tickets in HubSpot Service Hub. Duplicate tickets can clutter your support system and create confusion for both your team and customers. HubSpot's powerful ticket merging feature allows you to consolidate duplicate tickets, streamlining your support process and providing a better customer experience. In this guide, we'll walk you through the process of identifying duplicate tickets, understanding merging options, and executing a smooth merging process. By mastering this feature, you'll improve ticket management efficiency, reduce redundant communication, and enhance customer satisfaction. Let's dive in and learn how to merge duplicate tickets in HubSpot Service Hub.
1
Log in to your HubSpot Account
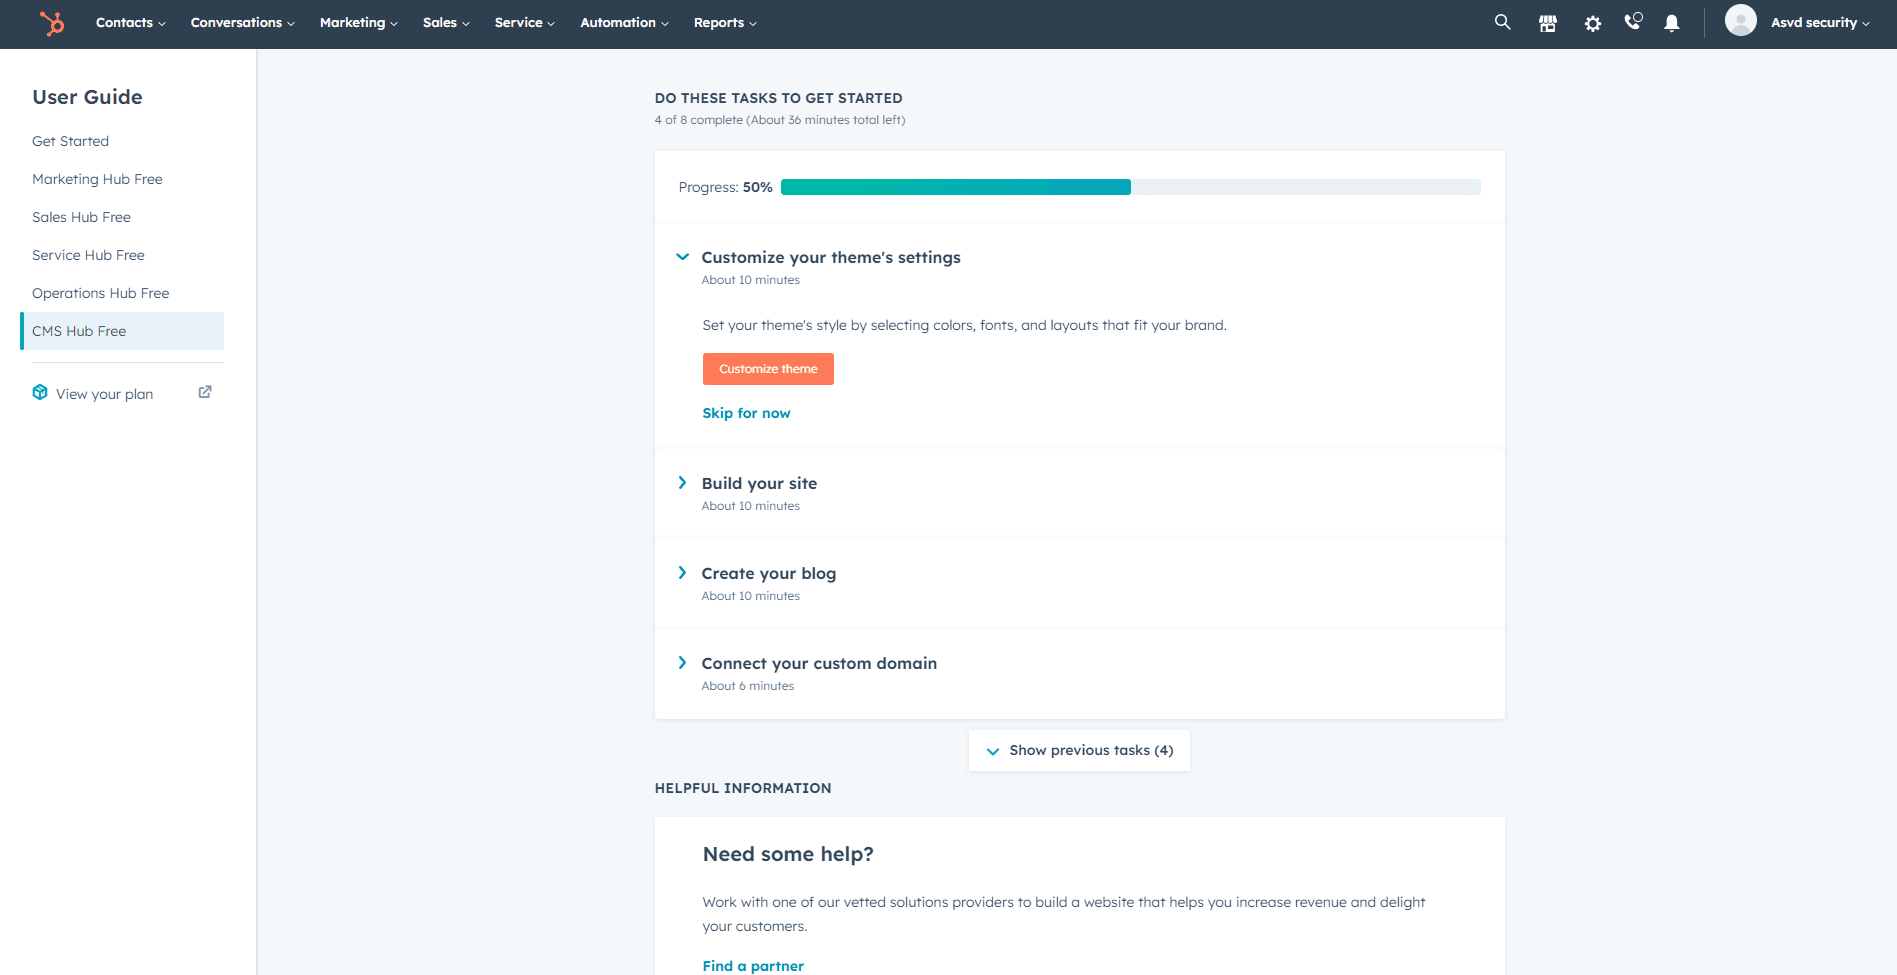
First, log in to your HubSpot account using your email address and password. If you don't have an account, sign up for a free trial or register for a paid plan.
2
Access the Service Hub
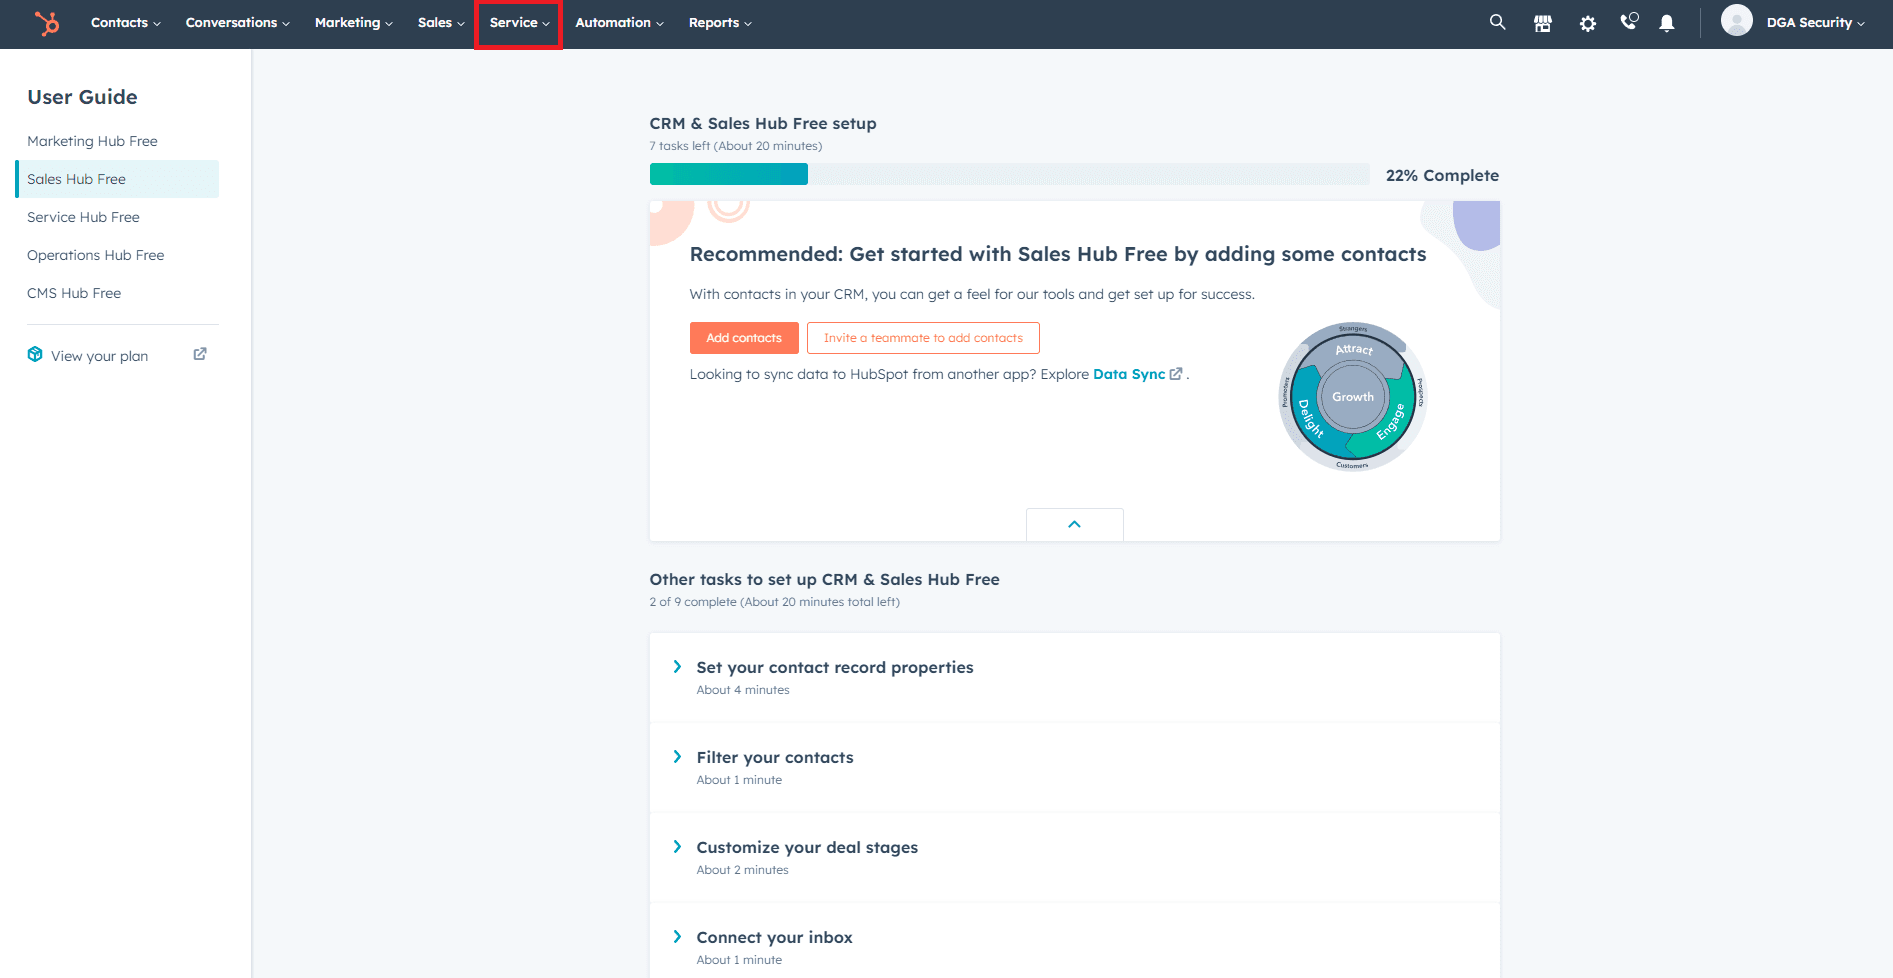
- Once you're logged in, click on the "Service" tab located in the top navigation bar.
- This will take you to the Service Hub, where you can manage support tickets and other customer service-related tasks.
3
Navigate to the Tickets Section
- In the Service Hub, click on the "Tickets" option in the left sidebar to access the tickets section.
- This is where you'll be able to view, manage, and merge support tickets for your customers.
4
Identify Duplicate Tickets
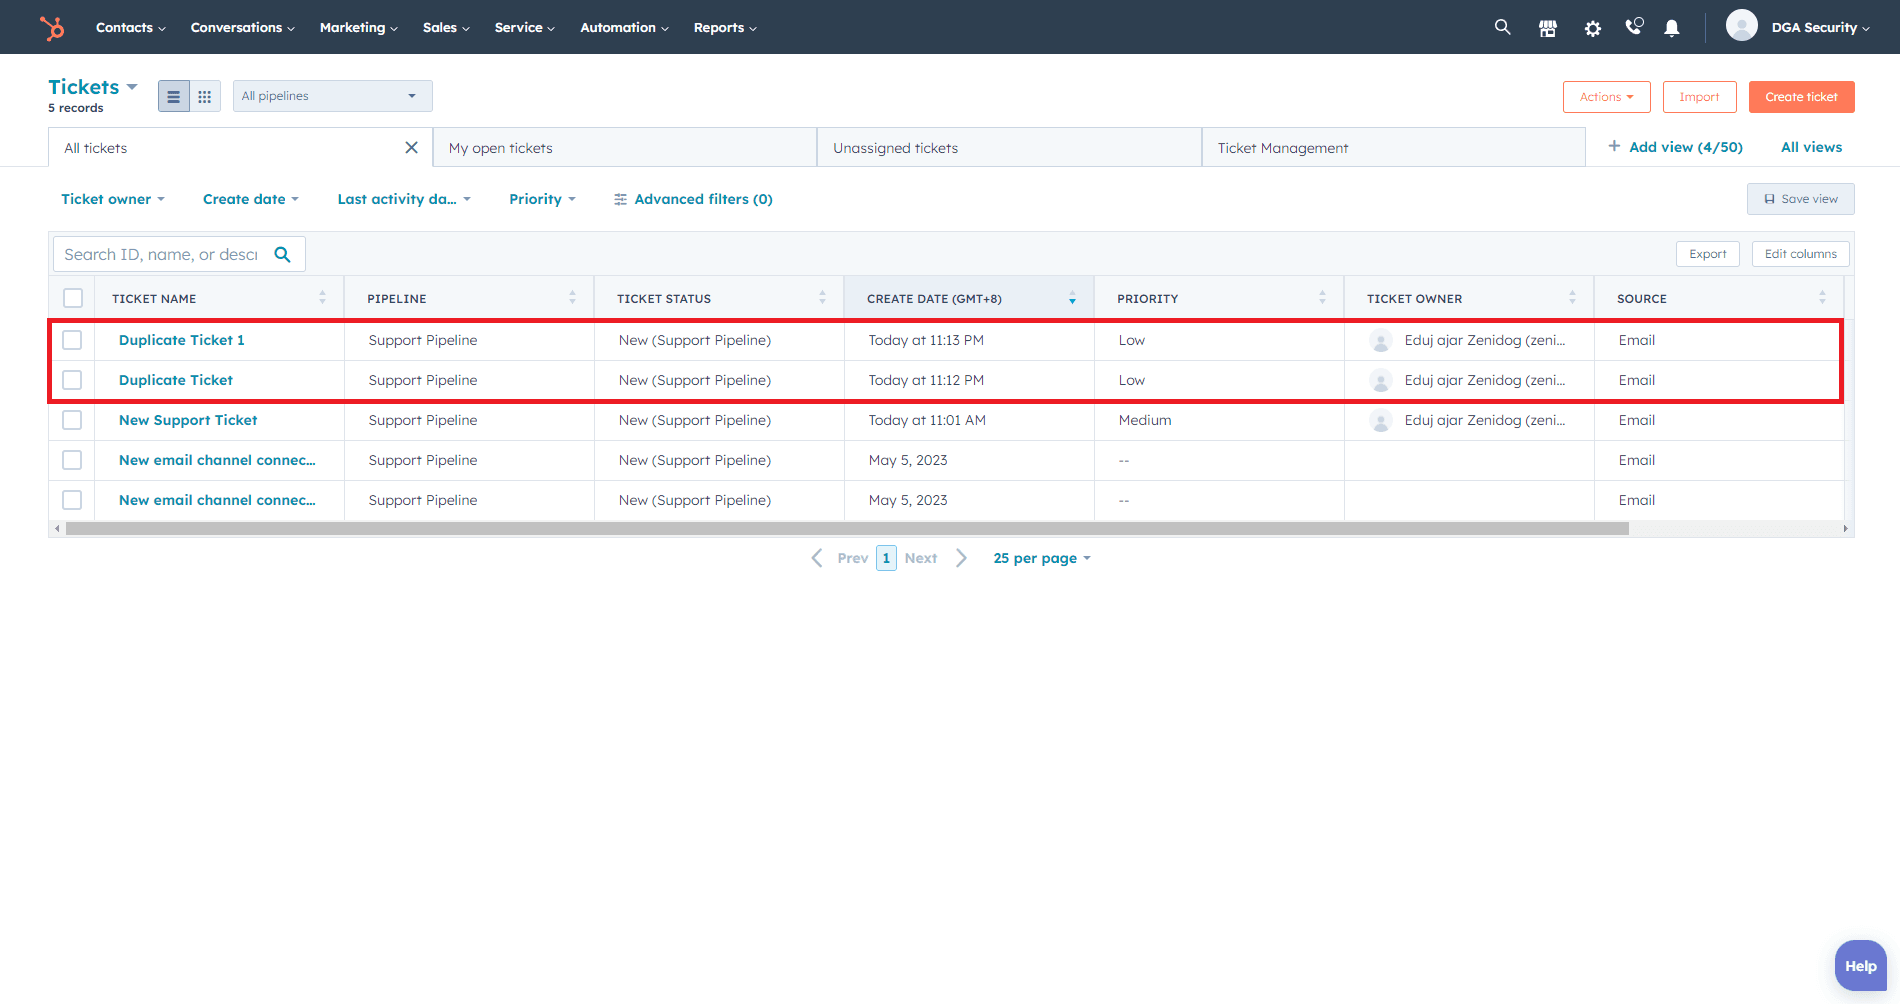
In the tickets section, locate the duplicate tickets that you want to merge. It's essential to ensure that the tickets you merge are truly duplicates and contain the same information or relate to the same issue.
5
Open the Primary Ticket
Decide which ticket you want to keep as the primary ticket after merging. Usually, this is the ticket with the most information or the one created first. Click on the primary ticket to open its details.
6
Merge the Duplicate Ticket
- In the primary ticket's details, click on the "Actions" dropdown menu located in the top right corner.
- From the dropdown menu, select "Merge ticket."
- In the "Merge tickets" dialog box, search for the duplicate ticket by its title or ticket number.
- Select the duplicate ticket from the search results, and click on the "Merge" button to confirm the merge.
Congratulations on learning how to merge duplicate tickets in HubSpot Service Hub! By implementing this process into your support workflow, you've taken a significant step towards streamlining your customer service and ensuring a seamless experience for your clients. Remember to regularly monitor and merge duplicate tickets to maintain a clean and efficient support system. As you continue to provide excellent service to your customers, optimizing ticket management through merging will play a crucial role in enhancing their satisfaction. We hope this guide has empowered you with the knowledge and tools to effectively manage duplicate tickets and further elevate your customer support capabilities. Keep delighting your customers with top-notch service, and may your support team thrive with the newfound efficiency and simplicity of HubSpot's ticket merging feature.