How to Create a New Support Ticket
Welcome to our comprehensive guide on creating a new support ticket in HubSpot. Streamlined ticket creation is essential for efficient customer support. In this guide, we'll walk you through the step-by-step process to ensure your customers' issues are promptly addressed.
1
Log in to your HubSpot Account
First, log in to your HubSpot account using your email address and password. If you don't have an account, sign up for a free trial or register for a paid plan.
2
Access the Service Hub
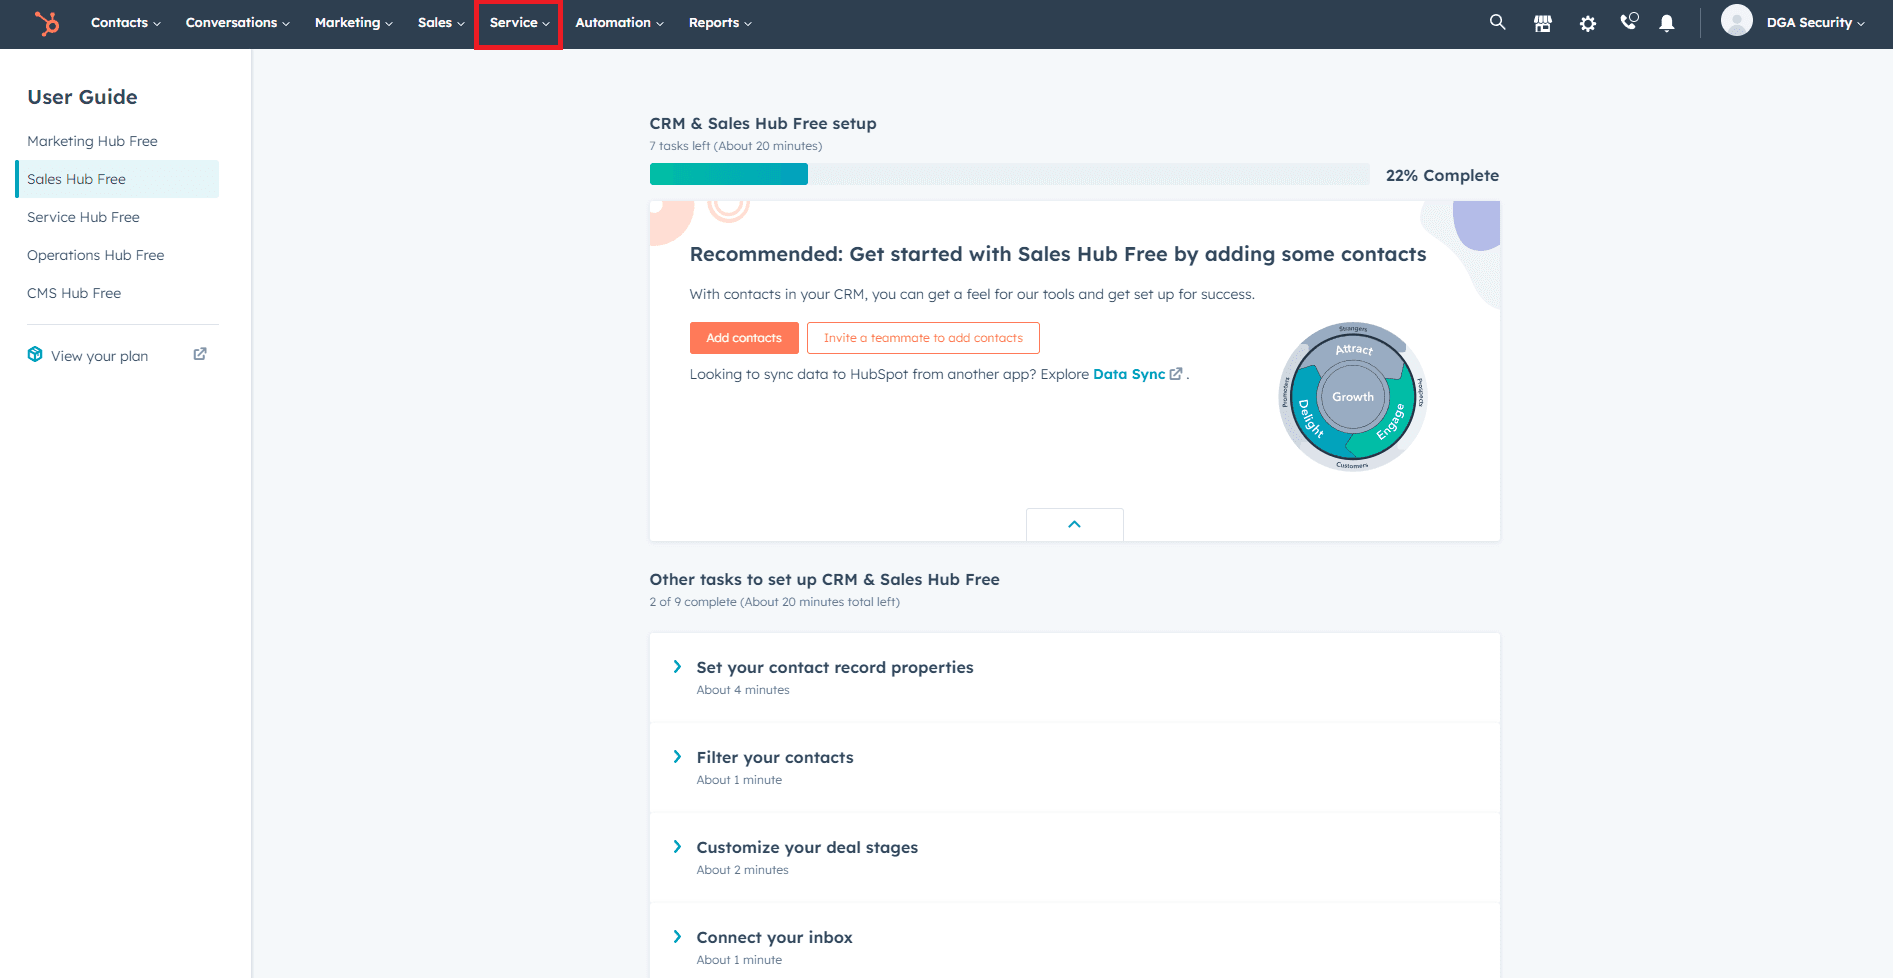
- Once you're logged in, click on the "Service" tab located in the top navigation bar.
- This will take you to the Service Hub, where you can manage support tickets and other customer service-related tasks.
3
Navigate to the Tickets Section
- In the Service Hub, click on the "Tickets" option in the left sidebar to access the tickets section.
- This is where you'll be able to view, manage, and create support tickets for your customers.
4
Create a New Support Ticket
- In the tickets section, click on the "Create ticket" button located in the top right corner.
- A new ticket window will appear, where you can enter the necessary details for the support ticket.
5
Enter Ticket Details
- In the new ticket window, complete the following fields:
- Contact: Select or search for the customer who requires assistance.
- Company: If applicable, choose the company associated with the contact.
- Ticket Name: Create a descriptive title for the support ticket.
- Ticket Status: Set the current status of the ticket (e.g., New, In Progress, Pending, Closed).
- Ticket Priority: Assign a priority level for the ticket (e.g., Low, Medium, High).
- Ticket Source: Specify the source of the ticket (e.g., Email, Phone, Chat).
- Ticket Type: Choose a ticket type to categorize the issue (e.g., Question, Incident, Problem, Task).
- Description: Add a detailed description of the customer's issue or question.
- You can also add custom properties to the ticket if necessary.
- Once you've completed the ticket details, click on the "Create" button to save and create the new support ticket.
6
Manage and Resolve the Support Ticket

- After creating the ticket, you'll be directed to the ticket detail view. Here, you can add notes, tasks, and send emails related to the ticket.
- As you work on resolving the issue, update the ticket status accordingly to keep your team informed of the progress.
- When the issue is resolved, close the ticket by changing the ticket status to "Closed."
Congratulations! You've successfully learned how to create a new support ticket in HubSpot. By following the steps covered in this guide, you can streamline your support process, prioritize customer inquiries, and deliver exceptional service. Remember to stay proactive in resolving tickets to build lasting customer relationships. Happy supporting!