How to Manage and Organize Tickets in HubSpot
Welcome to our guide on managing and organizing tickets in HubSpot. Streamline your support process for better efficiency. In this guide, we'll show you how to effectively manage and organize customer tickets for seamless customer service.
1
Log in to your HubSpot Account
First, log in to your HubSpot account using your email address and password. If you don't have an account, sign up for a free trial or register for a paid plan.
2
Access the Service Hub
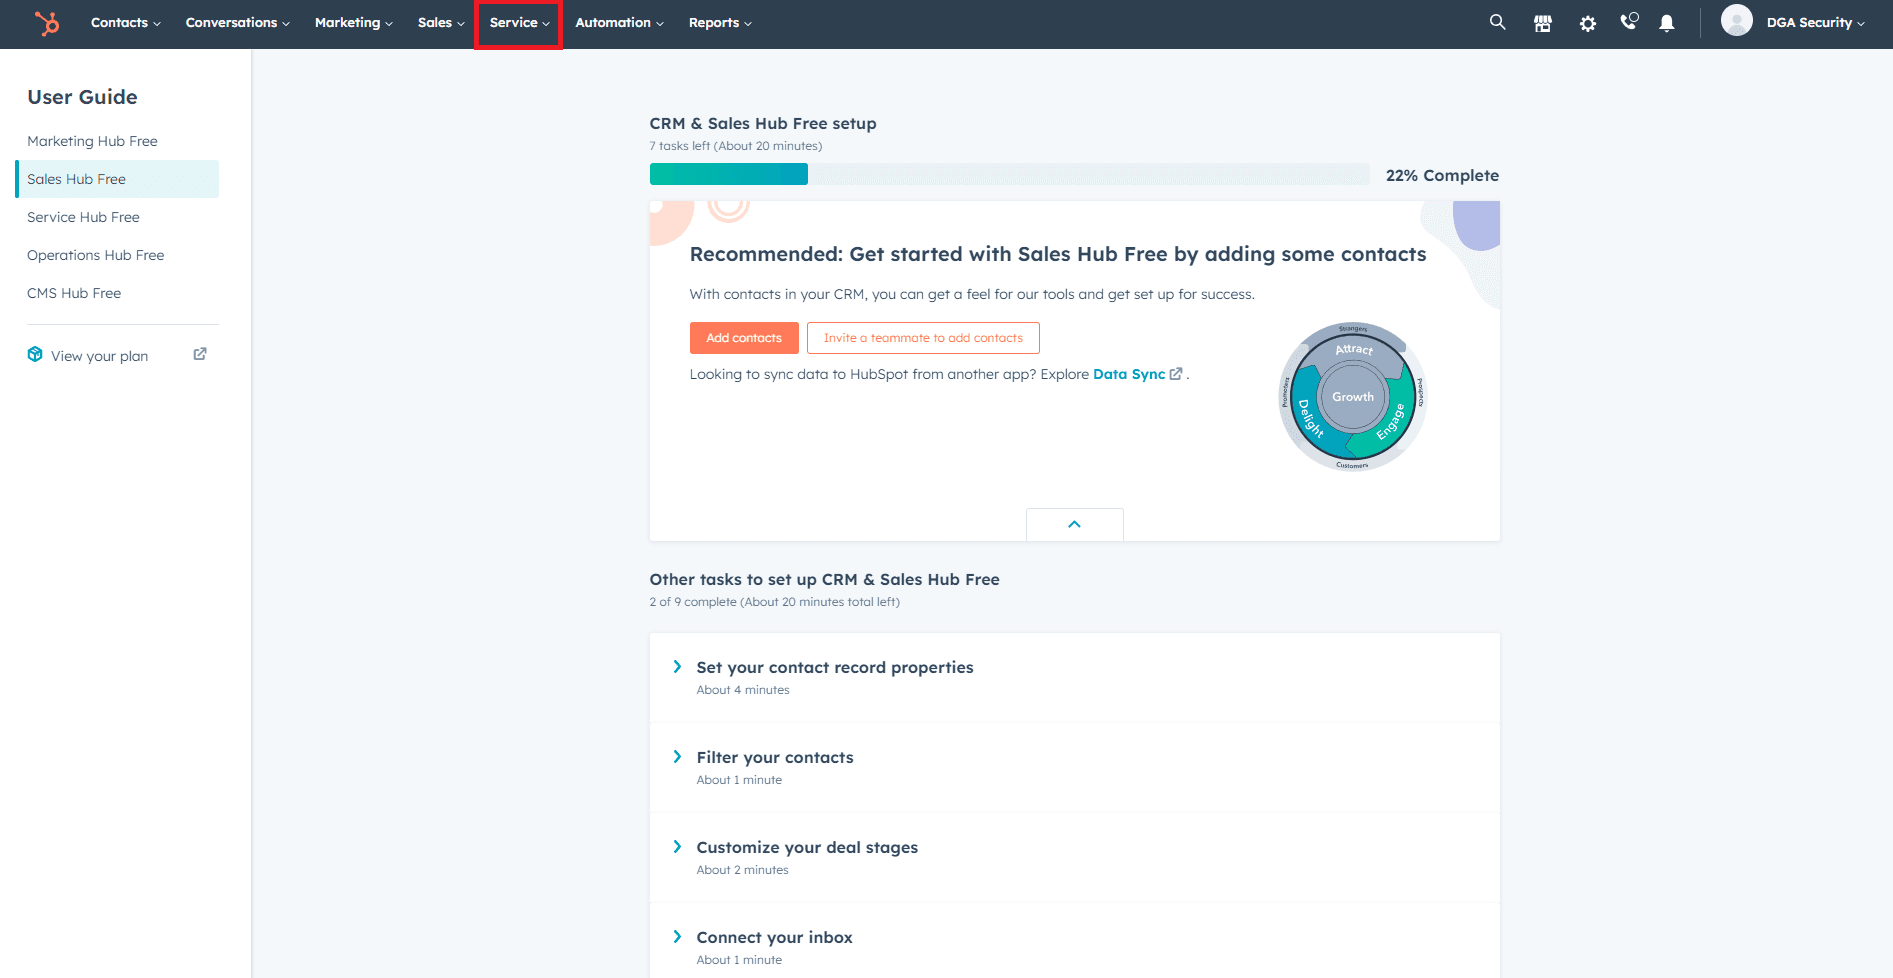
Once you're logged in, click on the "Service" tab located in the top navigation bar. This will take you to the Service Hub, where you can manage support tickets and other customer service-related tasks.
3
Navigate to the Tickets Section
In the Service Hub, click on the "Tickets" option in the left sidebar to access the tickets section. This is where you'll be able to view, manage, and organize support tickets for your customers.
4
Customize Ticket Views
In the tickets section, you can customize ticket views to better organize and prioritize tickets. Click on the dropdown menu next to "All Tickets" to see the available views, such as "My Tickets," "Unassigned Tickets," and "Recently Updated Tickets." To create a custom view, click on the "Add filter" button and choose your desired filters, such as ticket status, priority, and type. Click on the "Save view" button, enter a name for your custom view, and click "Save."
5
Assign Tickets to Team Members
To assign a ticket to a team member, click on the ticket to open its details. In the ticket details, click on the "Assigned to" dropdown menu, and select the team member who will be responsible for handling the ticket. This will help ensure that tickets are distributed among your team members for efficient resolution.
6
Add Notes, Tasks, and Email to Tickets
In the ticket details, you can add notes, tasks, and send emails related to the ticket to keep all communication and action items in one place. Use the right sidebar in the ticket details to add notes, create tasks, or send emails directly from the ticket.
Congratulations! You've successfully learned how to manage and organize tickets in HubSpot. By implementing efficient ticket management, you can deliver prompt and personalized support, improve customer satisfaction, and maintain a well-organized support system. Continuously monitor and optimize your ticket management process to keep providing top-notch customer service. Happy organizing!