How to Personalize Automated Messages
Automated messages can be personalized to make them more relevant and engaging for customers. This can be done by using the customer's name, location, or purchase history.
1
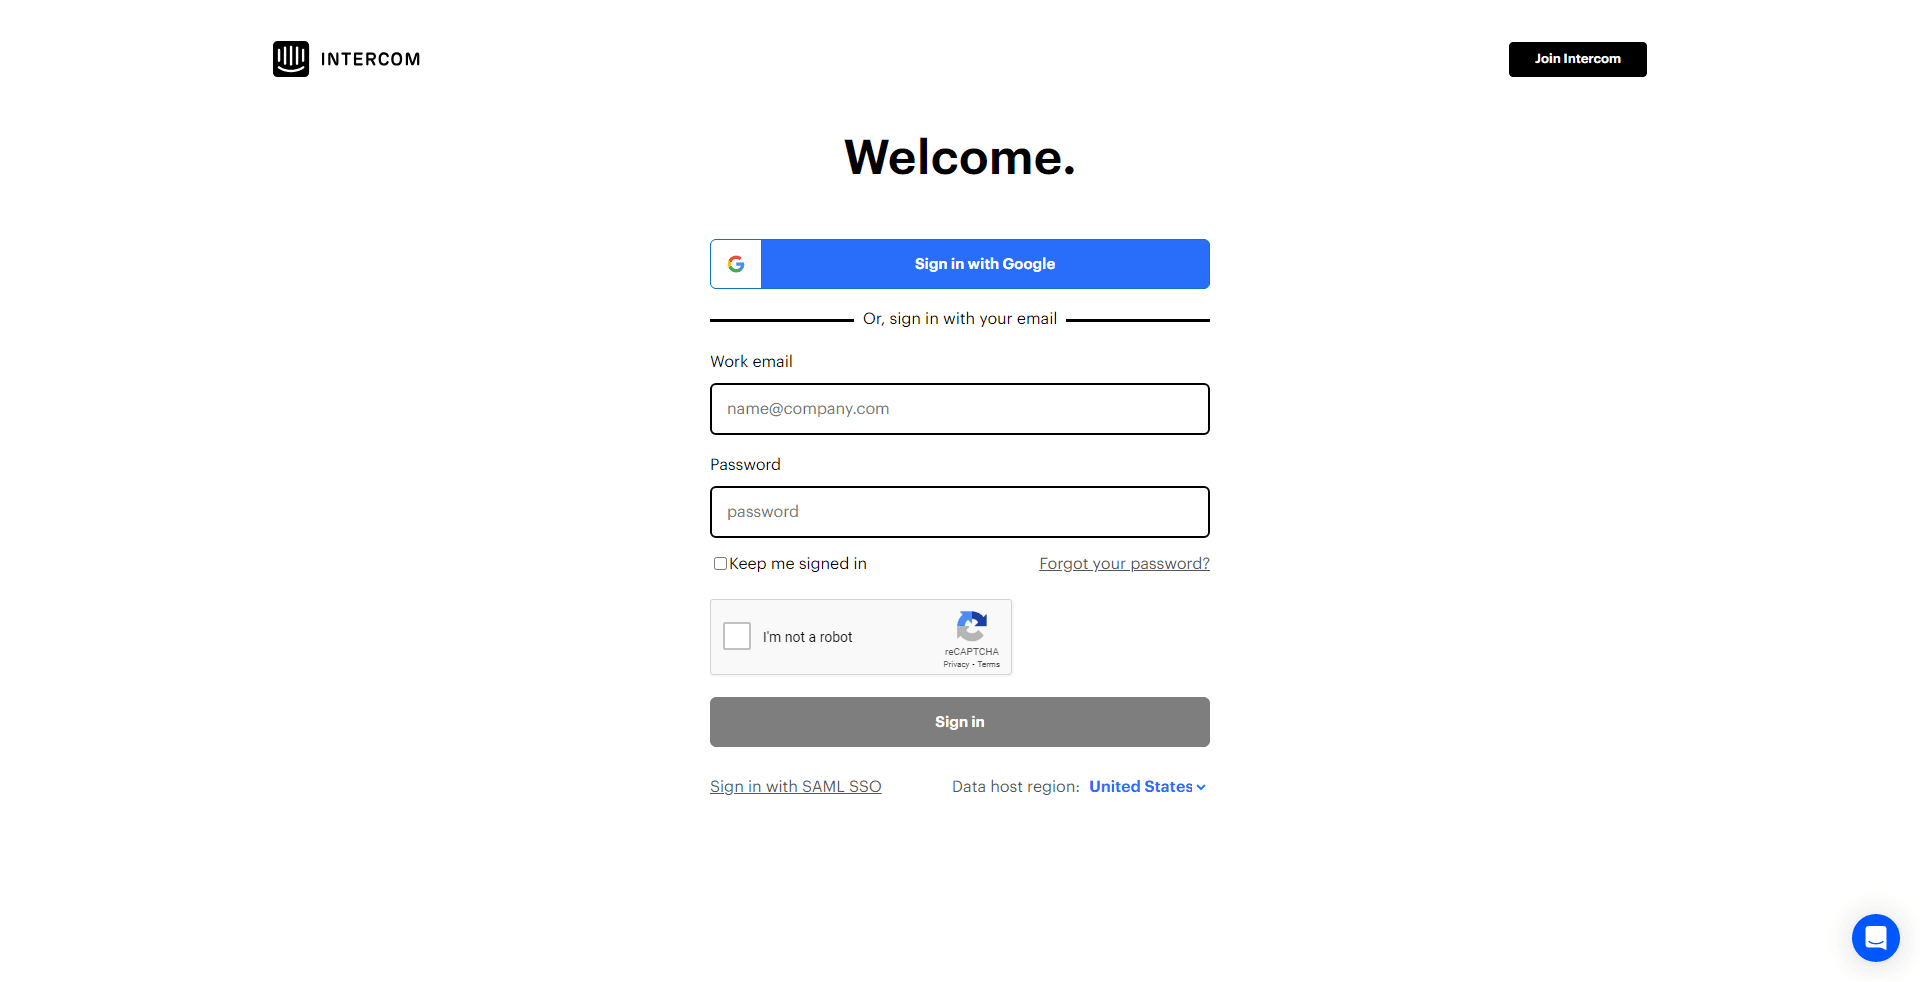
Sign into Intercom

Log in to your Intercom account.
2
Navigate to 'Outbound' Section
On your dashboard, select the 'Outbound' option from the left-hand side navigation menu.
3
Create or Select an Automated Message
From the 'Outbound' section, either create a new automated message by clicking on 'New Automated Message' or select an existing one.
4
Edit the Message
Click on 'Edit' to start customizing the message.
5
Save and Exit
Once you're satisfied with the personalized message, click on 'Save and exit'.
Personalizing automated messages is a great way to improve the customer experience and boost engagement. By following the tips outlined in this guide, you can easily personalize your automated messages and start reaping the benefits.


