
How to Schedule and Share Salesforce Dashboard Refreshes
Welcome to our guide on scheduling and sharing Salesforce dashboard refreshes and snapshots. Stay up-to-date and collaborate effectively. In this guide, we'll show you how to automate refreshes and share dashboard snapshots effortlessly.
1
Log in to your Salesforce account.

First, log in to your Salesforce account using your email address and password. If you don’t have an account, sign up for a free trial or register for a paid plan.
2
Click on the "Dashboards" tab on the main navigation bar.
Once you’re logged in, click on the “Dashboards” tab on the main navigation bar. Choose the desired dashboard from the list or search for it using the search bar.
3
Edit Dashboard
Once you have the dashboard open, click the down arrow next to the dashboard name and select "Edit Dashboard."
4
Locate the Dashboard Properties

In the "Edit Dashboard" view, locate the "Subscribe" button, usually in the top right corner.
5
Configure the Refresh Frequency
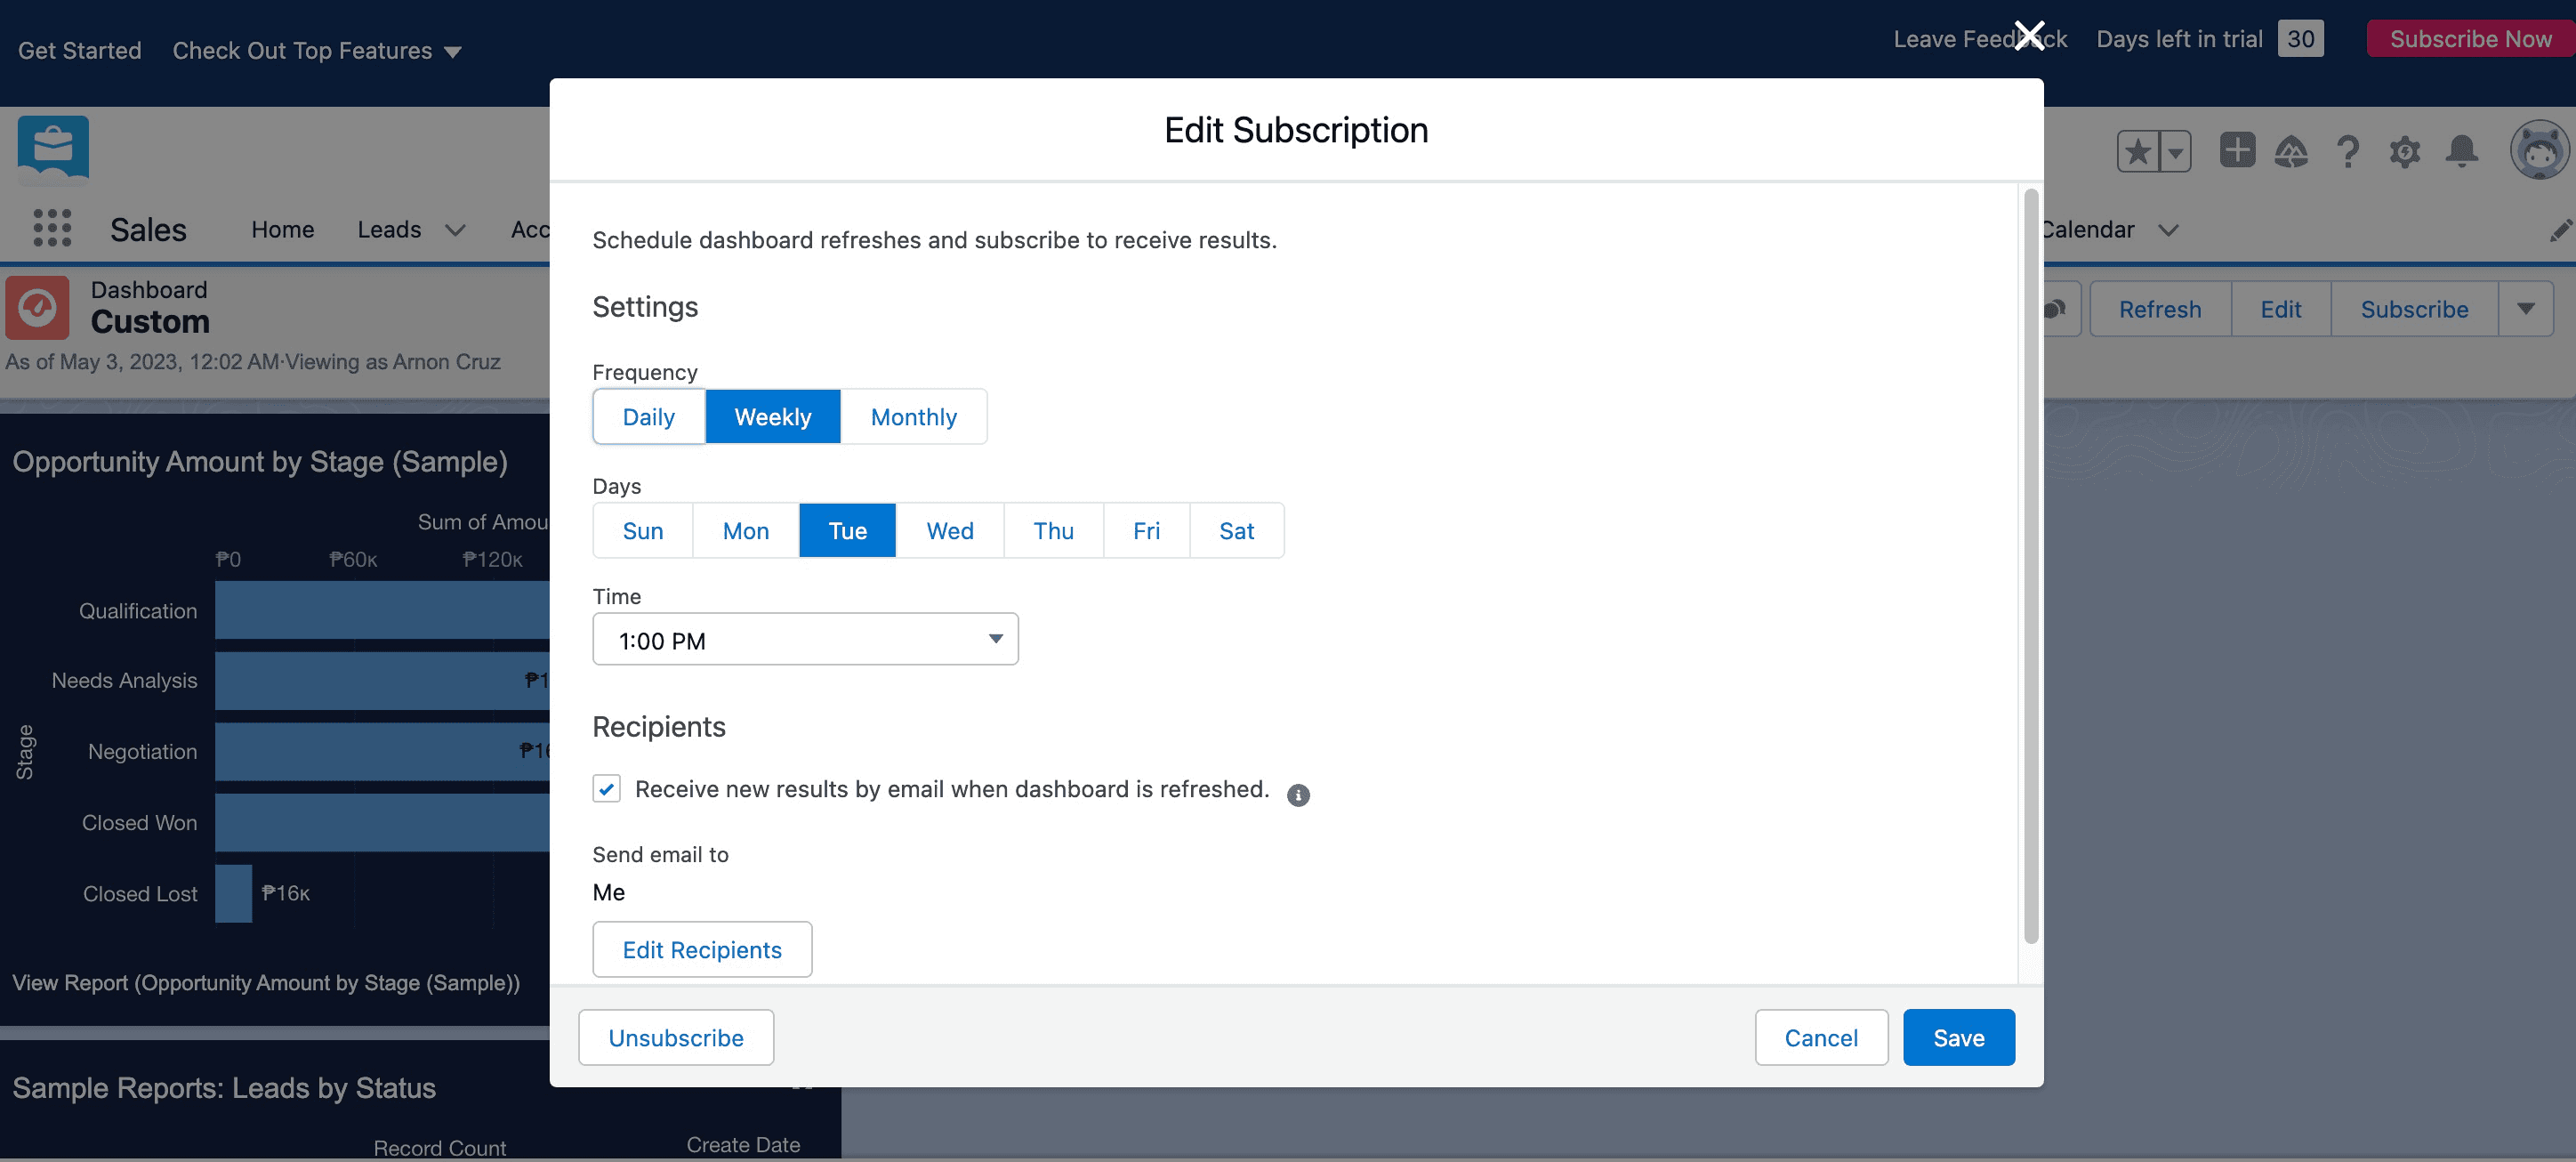
A pop-up window will appear, allowing you to set the refresh frequency (daily, weekly, or monthly), specific days, and time. Configure these settings according to your preferences and click "Save."
6
Share Dashboard Refreshes and Snapshots
Now, to share the dashboard refreshes and snapshots, click on the "Edit recipients" button located in the "Edit Subscription" section.
7
Choose Desired Recipients
Once you have entered your desired recipients for the scheduled refresh, click on “Save.”
8
Save your Dashboard Changes
Save your changes and exit the "Edit Dashboard" view by clicking "Done" or "Save & Close."
Congratulations! You've successfully learned how to schedule and share Salesforce dashboard refreshes and snapshots. By automating refreshes and sharing timely snapshots, you can keep your team informed, make data-driven decisions, and collaborate more effectively. Continuously schedule refreshes and share snapshots to stay on top of your data. Happy analyzing and collaborating!


