How to Automate Email Marketing Campaigns with HubSpot
Discover the art of efficient email marketing through the perfect blend of HubSpot's capabilities and third-party email providers. This comprehensive guide navigates you through the setup, integration, list management, template creation, and workflow automation, ensuring your campaigns engage, convert, and nurture with precision.
1
Set up your HubSpot account

1
Visit Hubspot
Visit the HubSpot website (https://www.hubspot.com/) and sign up for a free account.
2
Onboard your account
Complete the onboarding process by entering the required information about your business.
3
Choose a package
Choose the Marketing Hub package that best suits your needs (Free, Starter, Professional, or Enterprise).
2
Connect your third-party email provider
1
Go to "Marketplace"
Log in to your HubSpot account and navigate to the App Marketplace by clicking on the "Marketplace" icon in the top right corner.
2
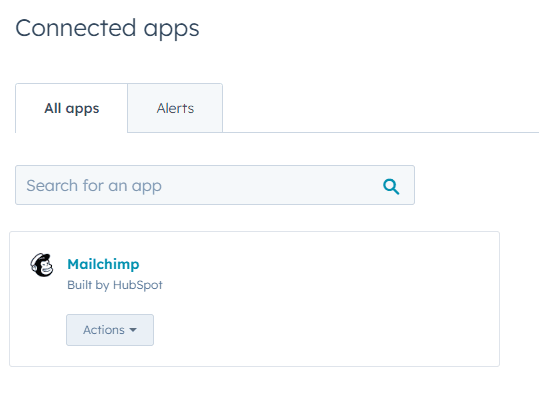
Search for your third-party email provider
Search for your third-party email provider (e.g., Mailchimp, SendGrid, etc.) and click on the integration listing.
3
Connect
Click the "Connect" button and follow the on-screen instructions to link your email provider account to HubSpot.
3
Import or create your email list
1
Click on "Lists"
In HubSpot, click on the "Contacts" tab and select "Lists."
2
Select a list
Choose to import an existing list or create a new list from scratch.
3
Upload and map contact list
If importing a list, upload a CSV file with your contacts' information and map the columns to the appropriate fields in HubSpot.
4
Add contacts manually
If creating a new list, add contacts manually or segment existing contacts based on specific criteria (e.g., demographics, behavior, etc.).
4
Create an email template
1
Navigate to Email
Navigate to "Marketing" > "Email" in the main menu.
2
Create email
Click the "Create email" button and choose a template or create a custom template using the drag-and-drop editor.
3
Customize email
Customize the email template with your branding, content, and desired layout.
4
Add more details
Add personalization tokens to address recipients by their names or include other relevant information.
5
Set up your email marketing automation workflow
1
Navigate to Workflows
Click on "Automation" > "Workflows" in the main menu.
2
Create Workflow
Click the "Create workflow" button and choose a workflow type (e.g., Contact-based, Company-based, etc.).
3
Define triggers
Define the enrollment triggers (e.g., when a contact joins a specific list, submits a form, etc.).
4
Add actions
Add actions to your workflow, such as sending an email, updating contact properties, or adding/removing contacts from lists.
5
Add email actions
For email actions, select the email template you created in Step 4.
6
Set schedule and conditions
Set the timing and conditions for each action, such as delays, if/then branches, and goal criteria.
7
Review and test
Review and test your workflow to ensure everything is set up correctly.
8
Activate workflow
Activate your workflow to start enrolling contacts and automating your email marketing campaign.
By merging HubSpot's prowess with third-party email providers, you've harnessed the ultimate automation toolkit. Seamlessly orchestrated campaigns and workflows are now at your fingertips, poised to enhance engagement and conversion rates. Take your email marketing strategy to new heights by automating tasks, ensuring consistency, and reaping the rewards of a streamlined process.


