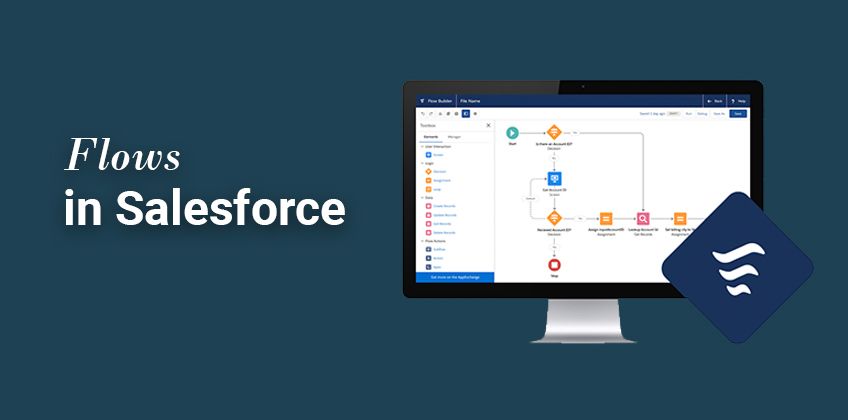
Creating Custom Reports Dashboards using Salesforce Workflow
Welcome to our comprehensive guide on leveraging Salesforce Workflow Automation to create customized reporting dashboards. In this guide, we'll explore how to harness the power of Salesforce's automation capabilities to build dynamic and tailored dashboards that deliver real-time data insights. With workflow automation, you can streamline the process of generating and updating reports, allowing your team to access critical information effortlessly. Discover how to set up automated workflows, schedule report generation, and design visually engaging dashboards that provide a holistic view of your business performance.
1
Log in to Salesforce
Log in to your Salesforce account and navigate to the main Report page.
2
Choose a Report Type
1
Create a new Report
In the Report page, click "New Report" to create a new report.
2
Select a Report Type
You'll be prompted to choose a report type. Select the appropriate type based on your desired data.
3
Customize the Report
Customize your report by dragging and dropping fields onto the canvas. Use the available filters and grouping options to organize your data. You can also sort the data by column, set conditions for displaying certain rows, and create formulas to perform calculations.
4
Save and Run the Report
1
Save the Report
Once you've finished customizing your report, click "Save" and give it a name.
2
Run the Report
After saving the report, click "Run Report" to view the generated data.
5
Create a Dashboard
1
Create a New Dashboard
To create a dashboard, click the "Dashboards" tab and then click "New Dashboard."
2
Name the New Dashboard
Give your dashboard a name and choose a folder location to save it.
6
Add Components to the Dashboard
1
Click on "Add Component"
In the dashboard editor, click "Add Component" to open the components panel.
2
Retrieve Your Report
Browse or search for the report you created in the previous steps.
3
Place the Report onto the Dashboard
Drag the desired report onto the dashboard canvas and customize the display settings as needed.
7
Save and View the Dashboard
Once you've finished adding components and customizing your dashboard, click "Save." You can now view your customized reporting dashboard.
Congratulations on mastering the art of creating customized reporting dashboards using Salesforce Workflow Automation! By integrating automation into your reporting processes, you've unlocked the power of efficiency and real-time insights. Your team can now access vital data effortlessly, empowering them to make informed and timely decisions. As you continue to fine-tune your dashboards, consider incorporating user feedback and iterating on your designs to meet evolving business needs. Remember to keep your dashboards visually engaging, highlighting key metrics and trends with charts, graphs, and conditional formatting. Regularly review and update your automation workflows to ensure data accuracy and relevancy. Embrace the flexibility of Salesforce's Workflow Automation, and let it transform your reporting process into a seamless and data-driven experience. With your newfound skills, you have the tools to make data work for you, driving success and growth for your organization. Thank you for joining us on this journey to unleash the full potential of Salesforce for your reporting needs. Happy dashboarding!


