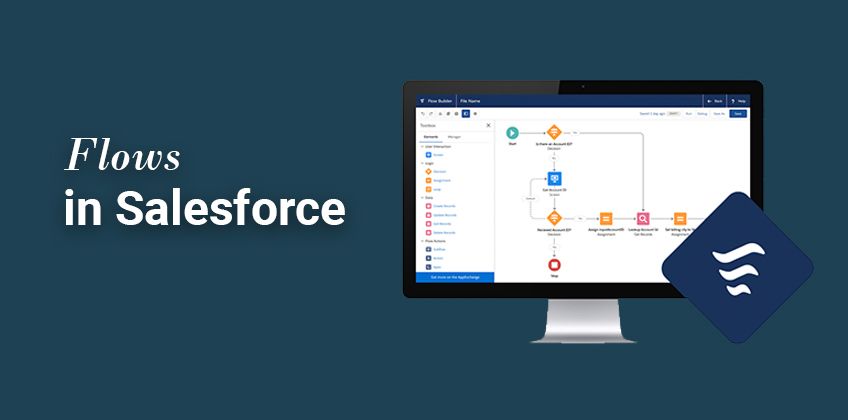
How to Boost Team & Task Management with Salesforce Workflow
Welcome to our comprehensive guide on leveraging Salesforce Workflow Automation to enhance team collaboration and streamline task management. Salesforce offers powerful automation capabilities that can revolutionize the way your team works together and manages tasks. By automating repetitive processes, assigning tasks automatically, and triggering notifications, you can ensure smoother workflows, increased productivity, and improved communication among team members. In this guide, we'll walk you through the process of setting up Salesforce Workflow Automation to optimize collaboration and task management within your organization. Let's unlock the full potential of your team with Salesforce Workflow Automation.
1
Access the setup page
Go to the top-right corner and click on the Cog icon. Select "Setup."
2
Navigate to the flow builder
1
Find "flow"
On the setup page, go to the top-left corner and type "flow" in the Quick Find search bar.
2
Click on "Flows"
Under Process Automation, click on "Flows."
3
Create a new flow
1
Click on "New Flow"
Click on the "New Flow" button in the top-right corner.
2
Choose "Record-Triggered Flow"
Choose "Record-Triggered Flow" from the provided options
3
Click "Create"
Click "Create". This will create the automation and will lead you to setting it up
4
Define the trigger
1
Select "Opportunity"
Select the "Opportunity" object.
2
Set the trigger
Configure the trigger by selecting "A record is created or updated."
3
Set the Entry Condition
Set the entry condition as "All conditions are met." In the conditions, set the field "StageName" equal to "Qualification."
4
Set the Run Schedule
Choose when to run the flow (every time or only once).
5
Create the action
1
Click on "+"
Click the "+" button below the play button.
2
Create Records
Scroll down to "Data" and click on "Create Records."
3
Name the action
Name the action "Create Example Task"
4
Choose "Use separate resources and literal values."
Choose "Use separate resources and literal values."
5
Map field values
Search for the "Task" object and start mapping field values between the Task and Opportunity records.
6
Set task details
Set the owner ID, what ID, who ID, priority, subject, and due date for the task.
6
Save and debug the flow
1
Save
Click on "Save" in the top-right corner and give your flow a name.
2
Debug
Press "Debug" to test your flow with sample data.
7
Activate the flow
If the debug test was successful, click on "Activate" in the top-right corner to make your flow live. Now, test your flow and it should add a new task whenever you mark Proposal as “Mark as your current stage”.
Congratulations on successfully implementing Salesforce Workflow Automation to boost team collaboration and task management! By automating repetitive tasks, assigning responsibilities with ease, and enabling efficient communication, you've empowered your team to work smarter and achieve more together. Remember to regularly review your workflows, gather feedback from your team, and fine-tune your automations to adapt to changing needs and new challenges. As your organization continues to grow, Salesforce Workflow Automation will be your trusted ally in optimizing productivity and maintaining seamless teamwork. Thank you for joining us on this journey, and may your team's collaboration reach new heights with the power of automation at your fingertips.


